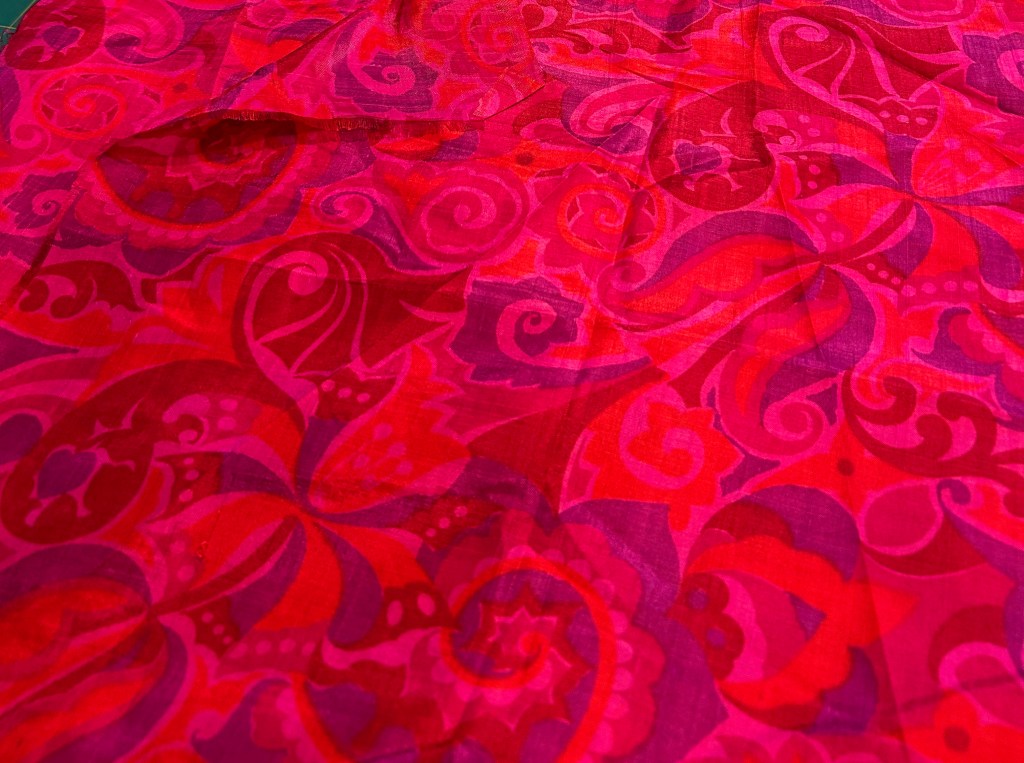
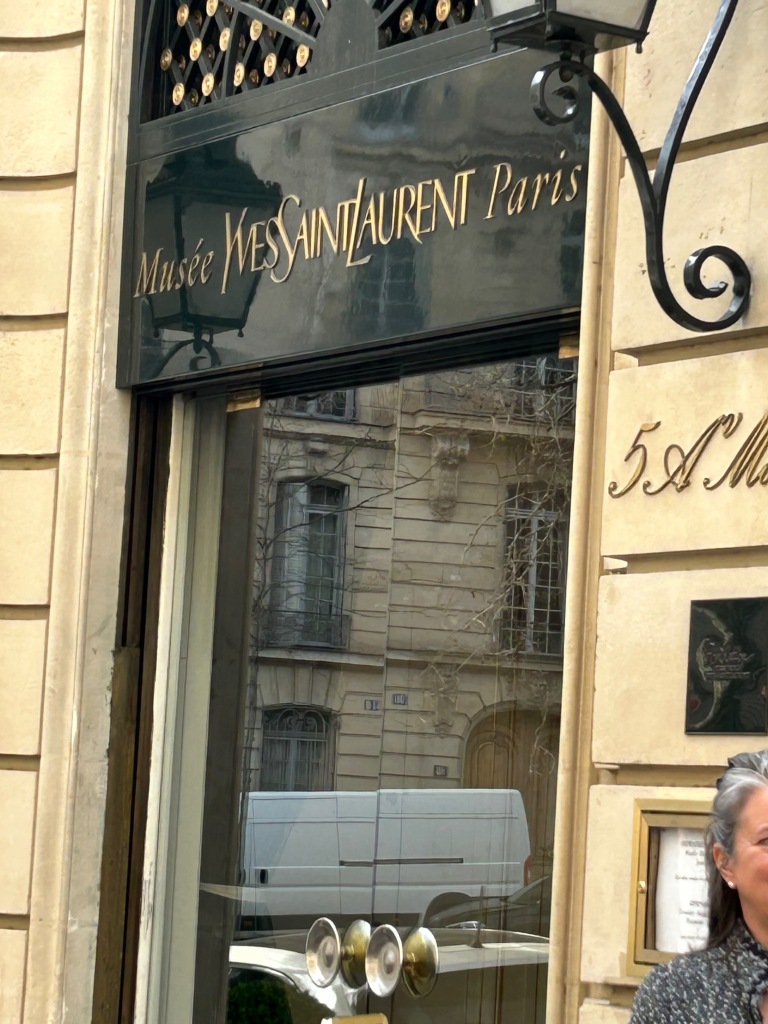
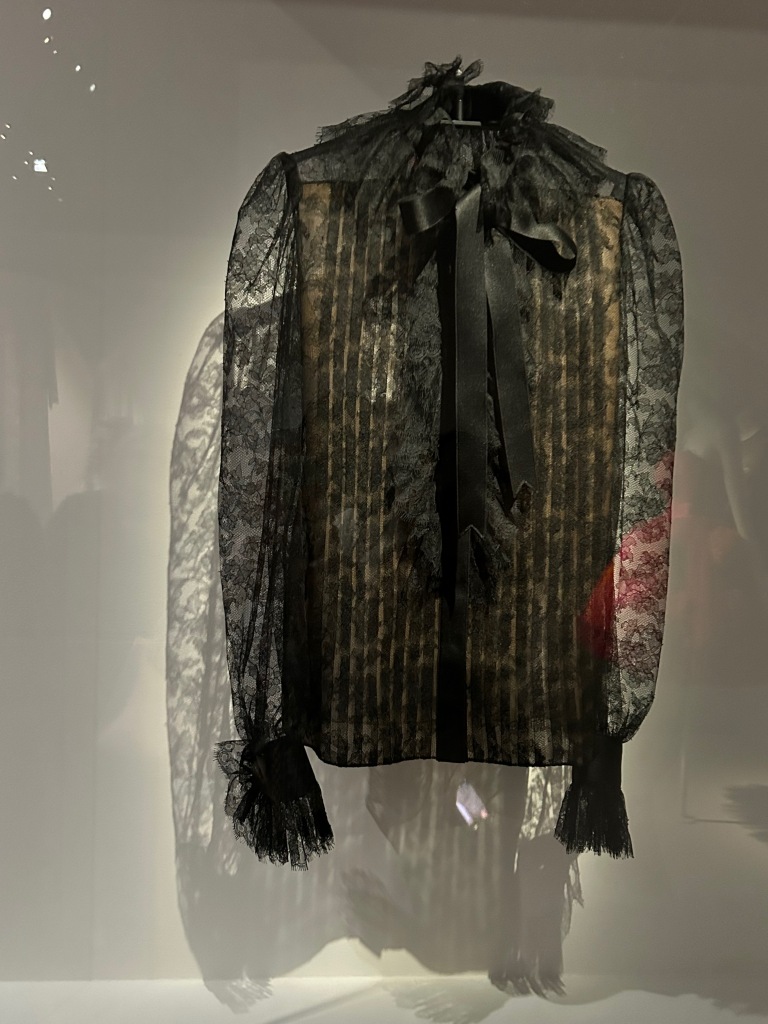
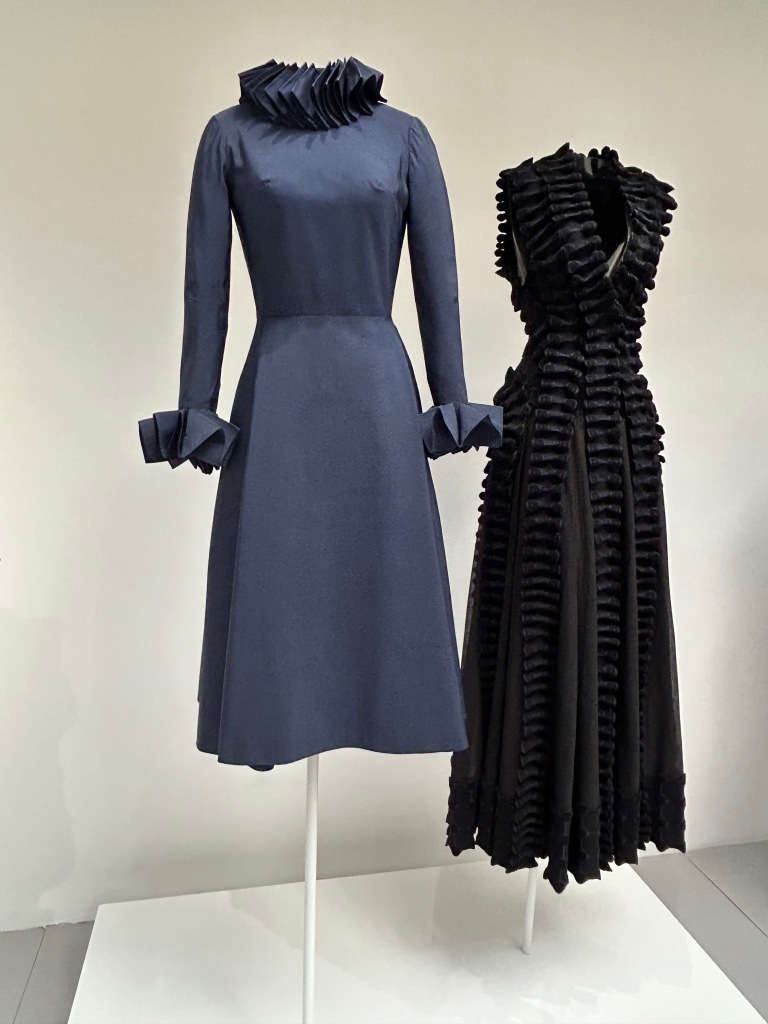
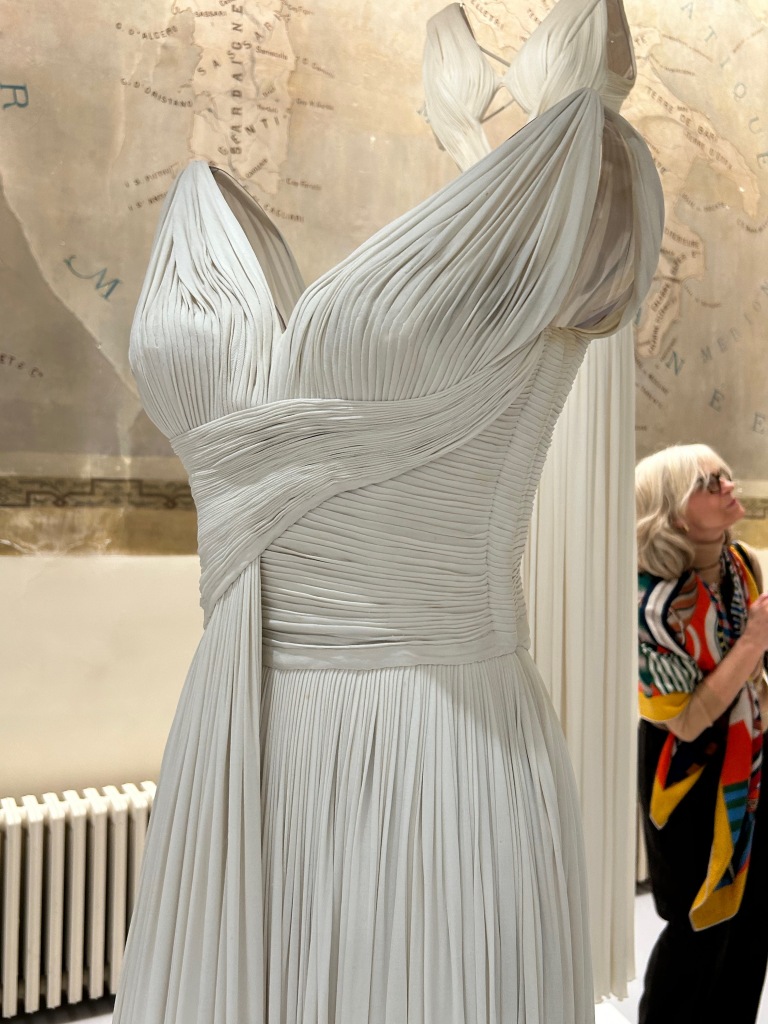
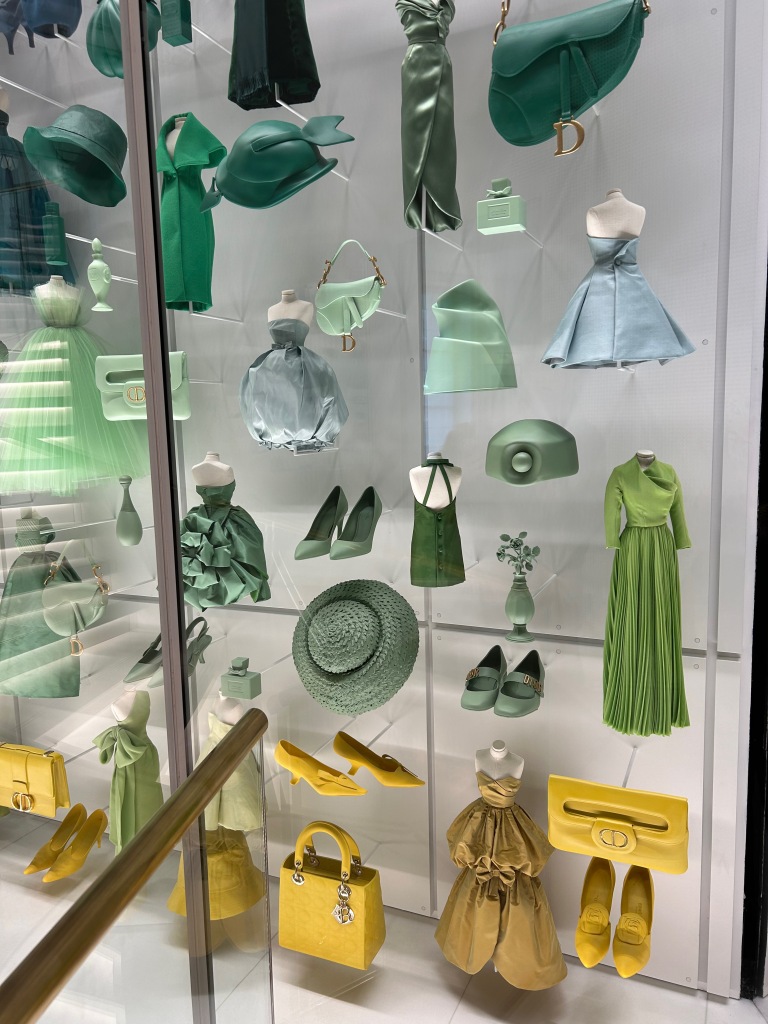
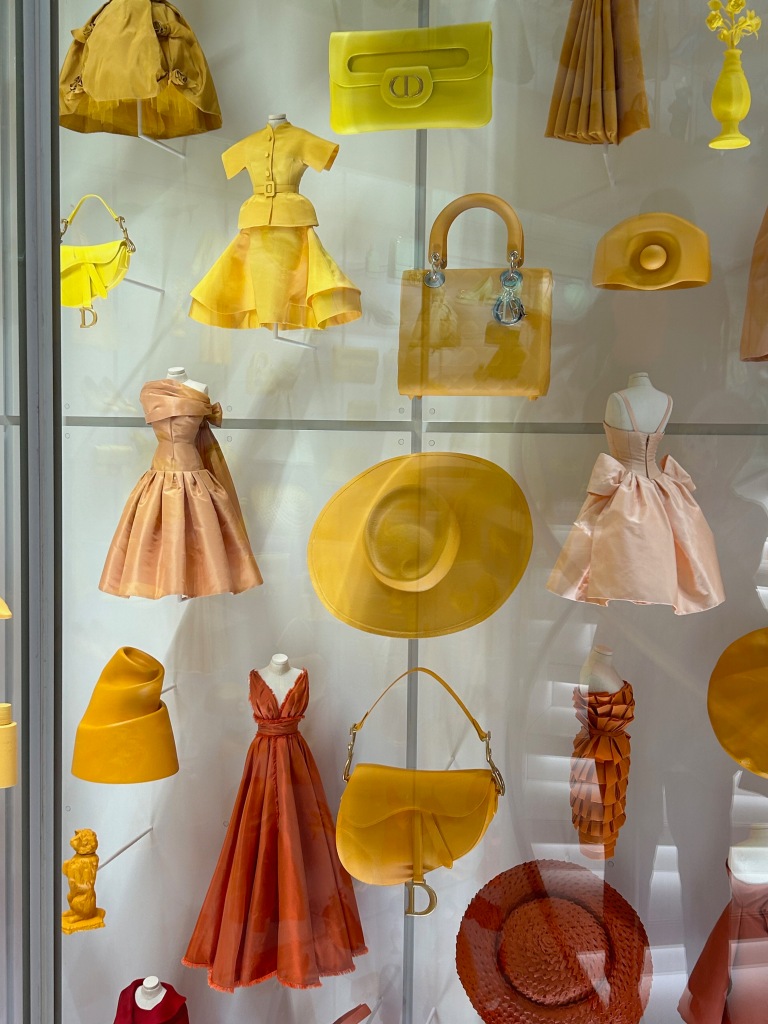
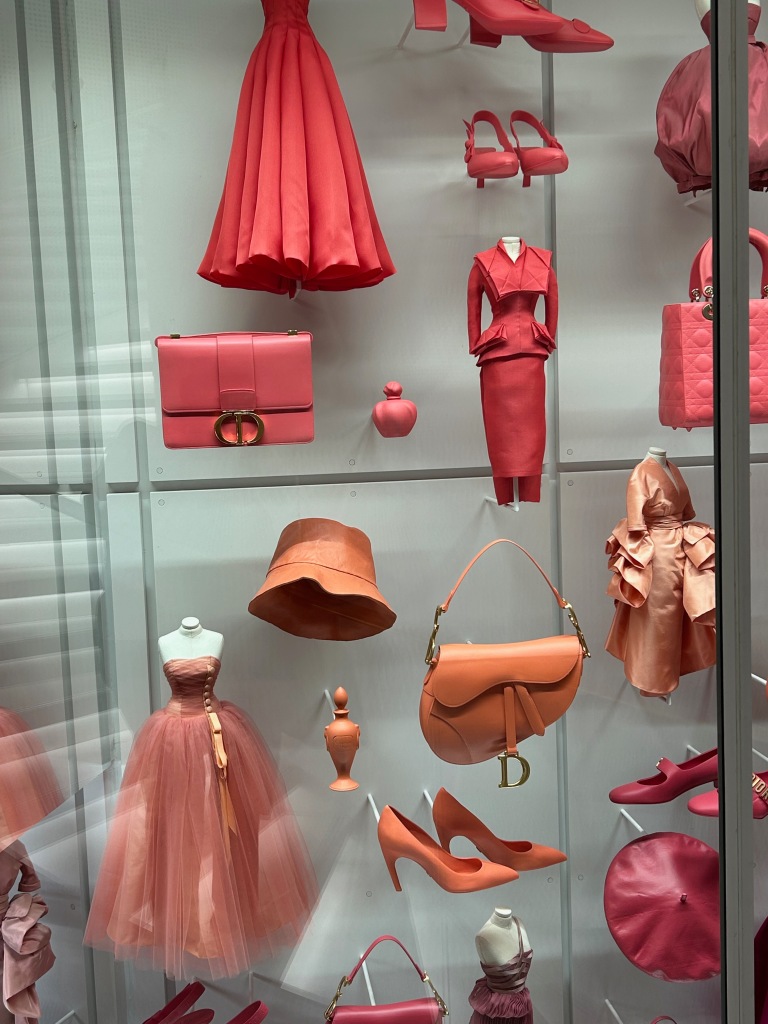
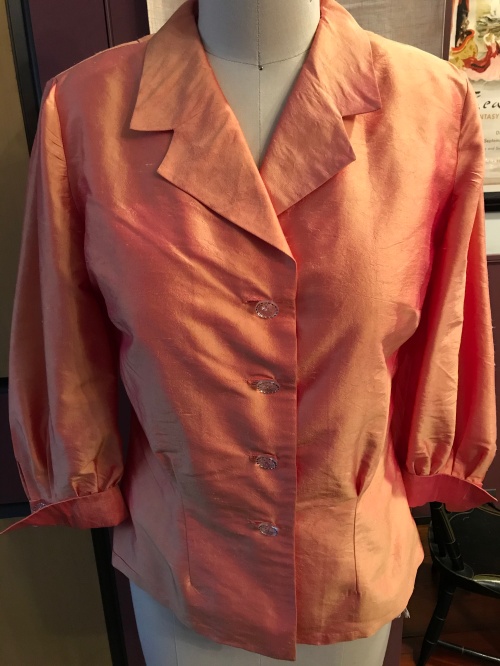
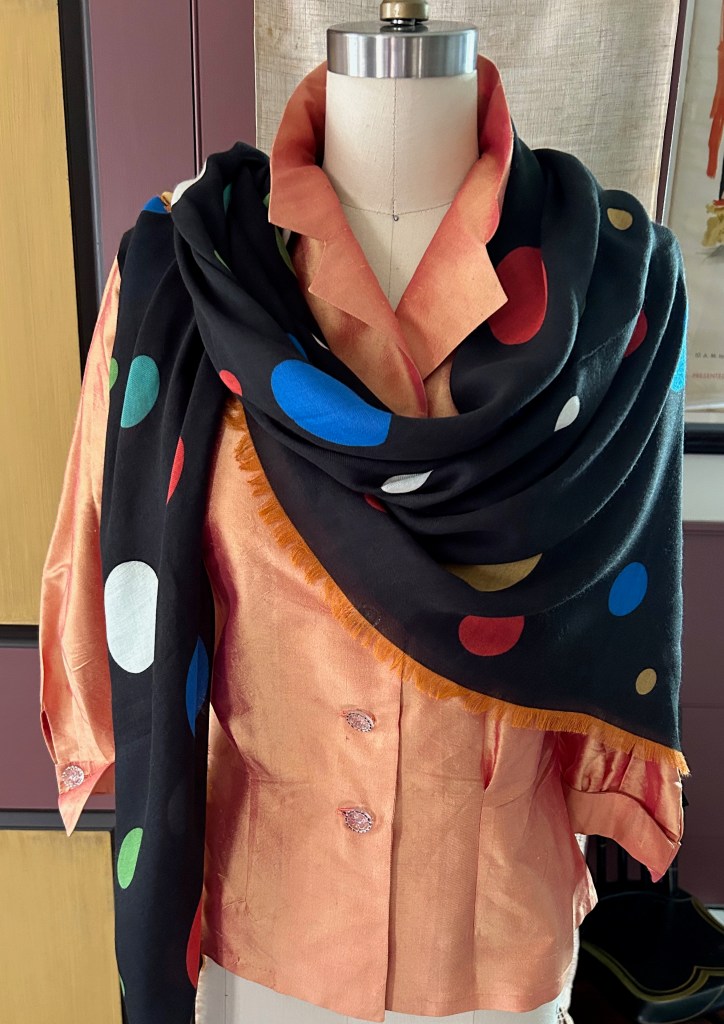
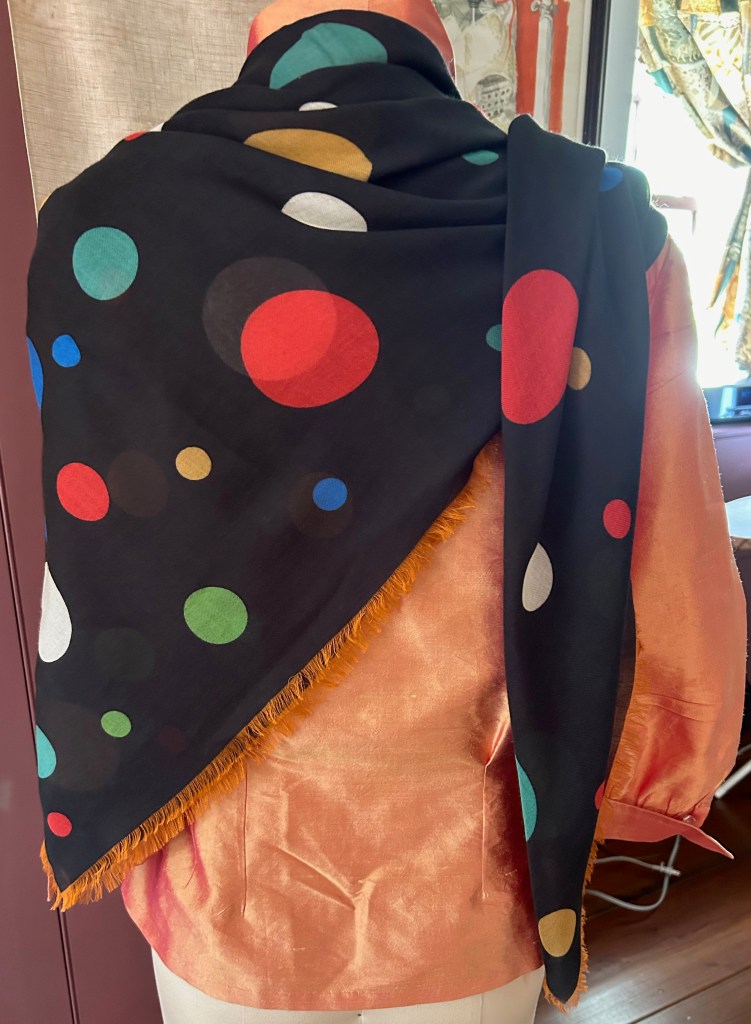
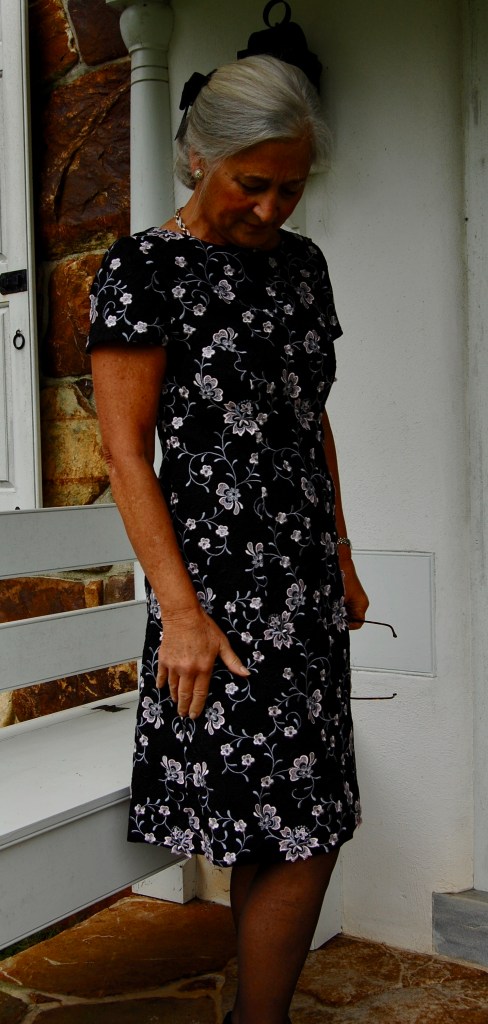
Part I:  How Does One Pack for A Trip to Paris in mid-March?  

With considerable thought!

I was a participant on Susan Khalje’s Paris Couture Tour in mid-March.  I dutifully checked the expected weather in central and northern France for that time of year (Mr. Fifty Dresses and I were spending a week in Normandy and Brittany prior to the Paris component, which meant even more thought). Chilly, rainy, breezy were the parameters most often appearing in my weather search.  Add to that the fact I did not want to look too Wintry nor too Springy, and, well, I was quite in a quandary!  

Fortunately, Susan provided us with some guidelines for the type of clothing we would need.  This included day wear for our scooting around Paris to see exhibits, fabric stores, specialty stores, museums, etc.  She indicated that dress in Paris is “noted” so I took that to mean we needed to look “sharp” and “put-together.”  We also would have two days with special visitors and demonstrations in the hotel.  Again we didn’t need to be all dolled up, but we needed to look presentable.  And then there were those special nights out.  For those we would need dressy clothes – for a night at the Ballet at the Palais Garnier, a Gala dinner at a fancy restaurant, and an evening at a fashion show in a private Paris apartment.  

Of course, I decided I needed a least a couple of new things to wear.  And of course, that meant sewing.  I started in mid-January, making a muslin for this dress (pictured in green):

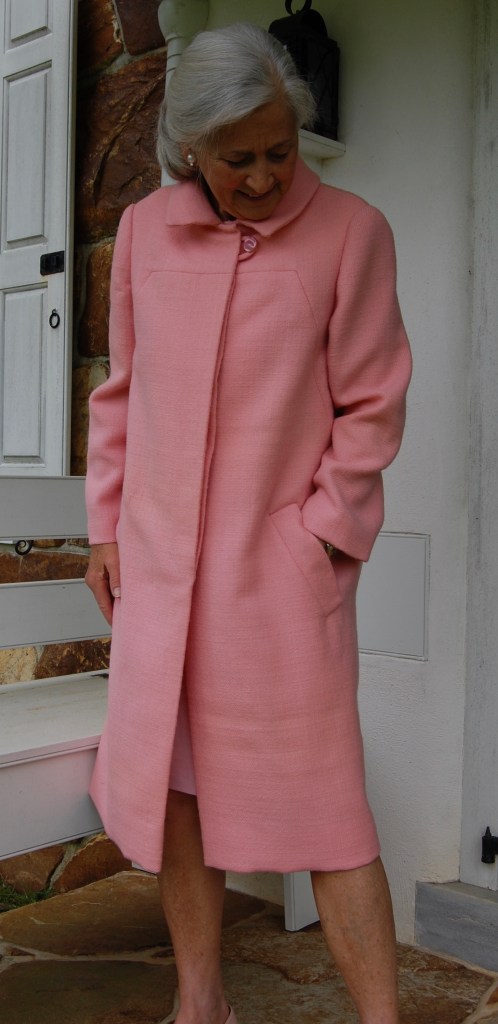
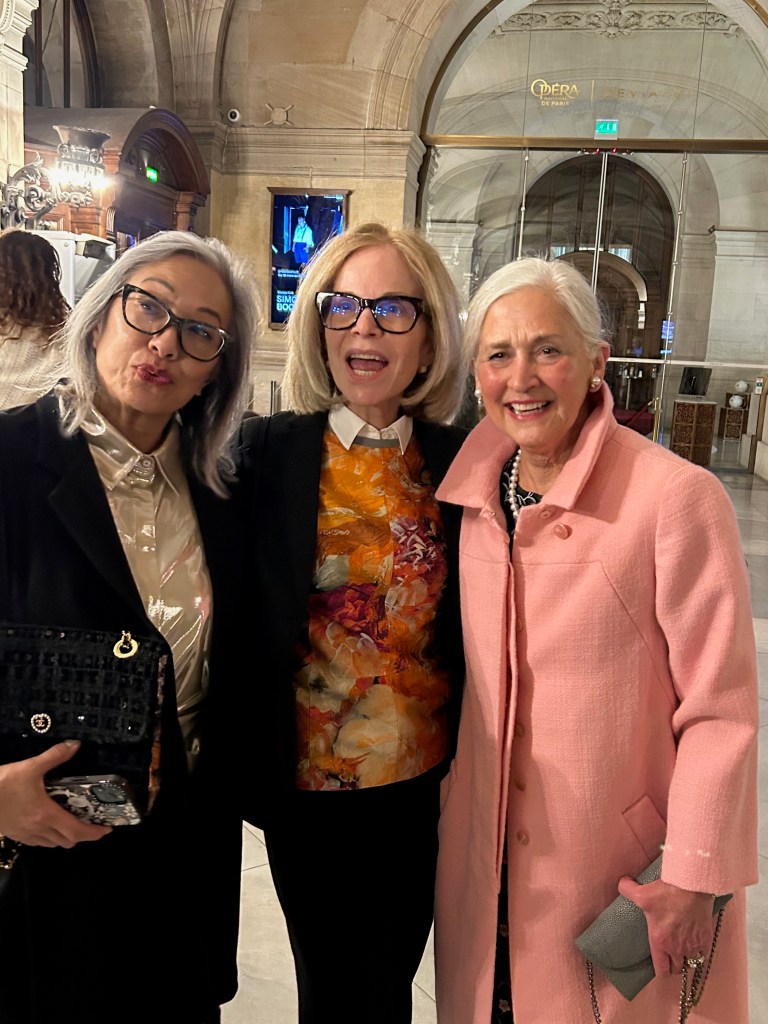
Before I started on the actual dress, however, I thought I would resurrect a pink wool jacket I had purchased 20 years ago.  Made in France, with some amazing details and handwork, the jacket had hung in my cedar closet for over 12 years, unworn.  Its color and weight, however, seemed to be perfect for Paris in March. 

When I tried it on, the shoulders were much too pronounced for today’s sensibilities.  Undaunted, I knew I could easily remove the hand stitched lining from around the top and sides of the shoulder armhole area.  I could see how the shoulder pads were configured and make adjustments.  I plowed forward, expecting this project to take no more than one day.  

No wonder those shoulders were so pronounced!  There were four layers of padding, all custom cut and applied to each shoulder cap.  I took out three layers for starters.  I knew I needed some definition, and that seemed to do the trick.  If I had been starting from scratch, I probably would have used even less padding, but this was acceptable to me.  

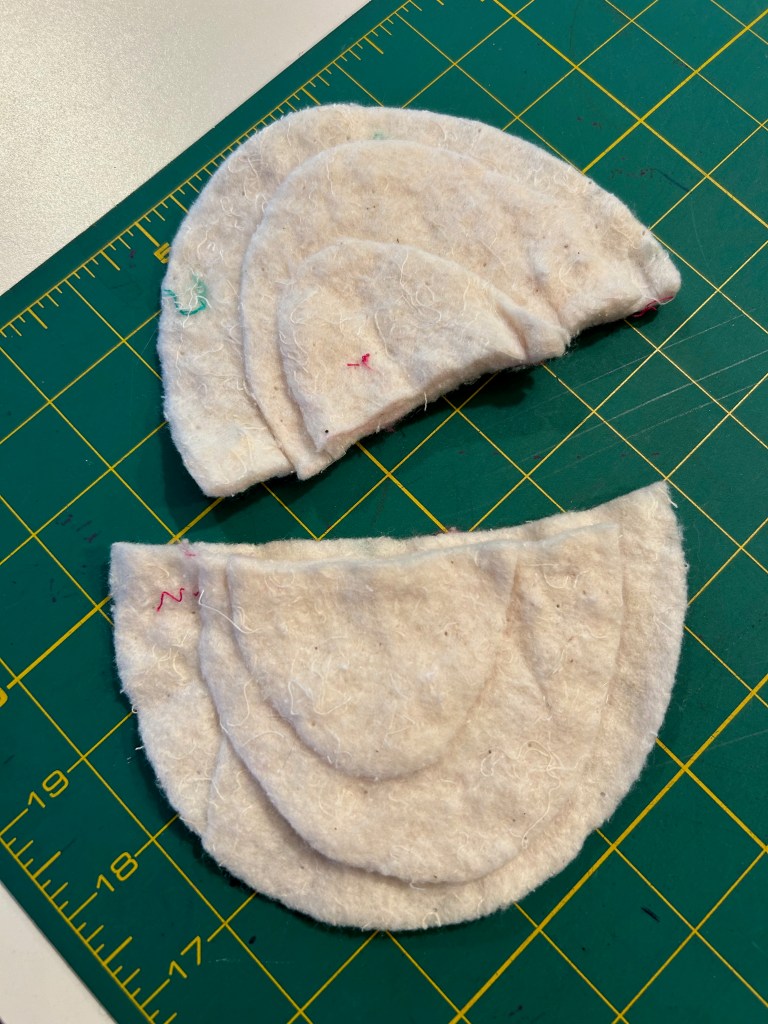
Here are the three layers of padding I removed from each shoulder. They were originally hand-stitched together, with big loopy stitches; I removed that stitching to access the largest of the four layers which I then used by itself for each shoulder.

What I had not anticipated was the fact that removing such a depth of shoulder padding had implications for the sleeve length.  There was no way around the realization I was going to have to shorten the sleeves – or not wear this jacket in Paris – or anywhere, for that matter.  Suddenly what promised to be a quick fix had morphed itself something much more time-consuming.    

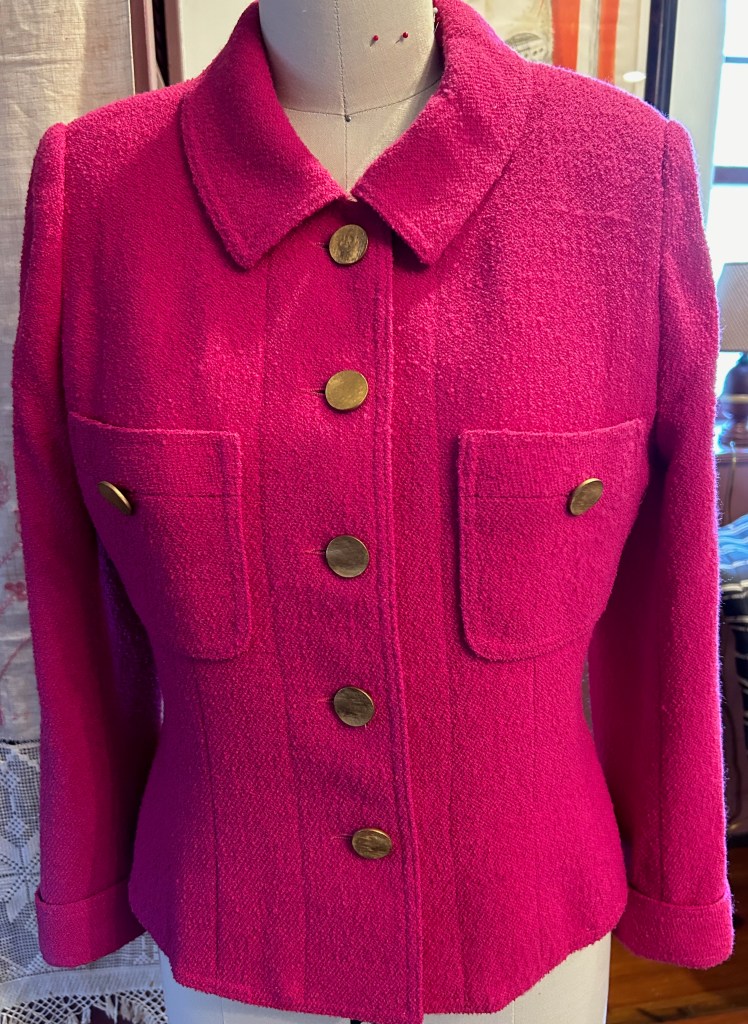
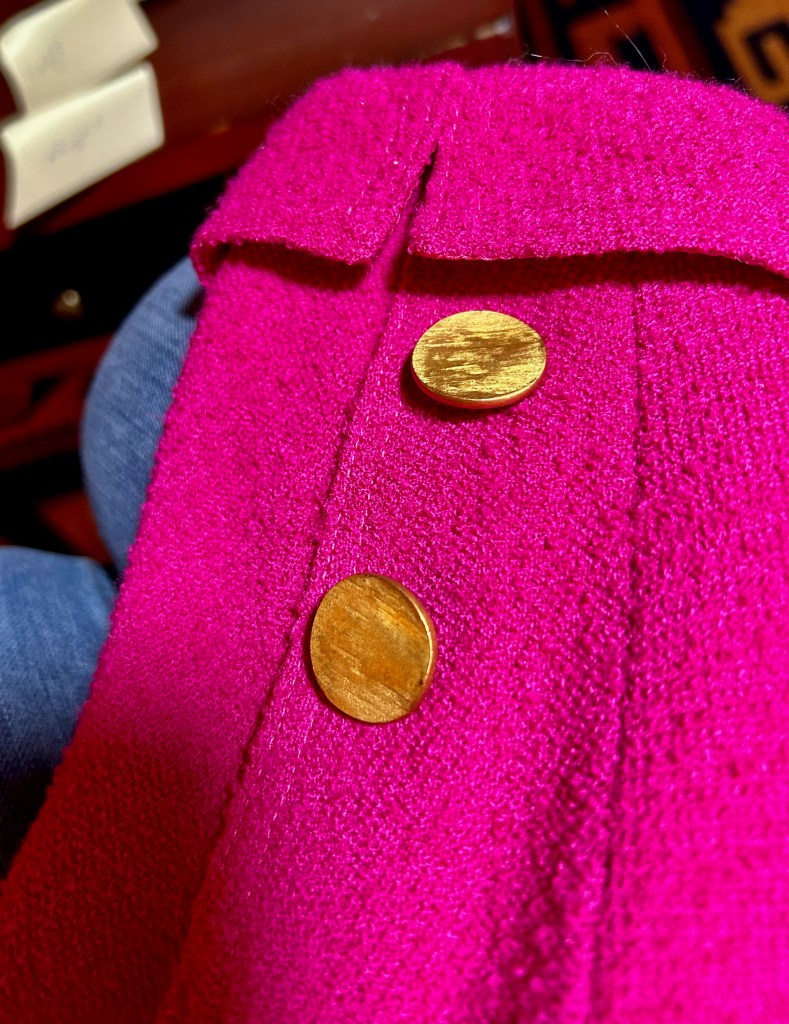
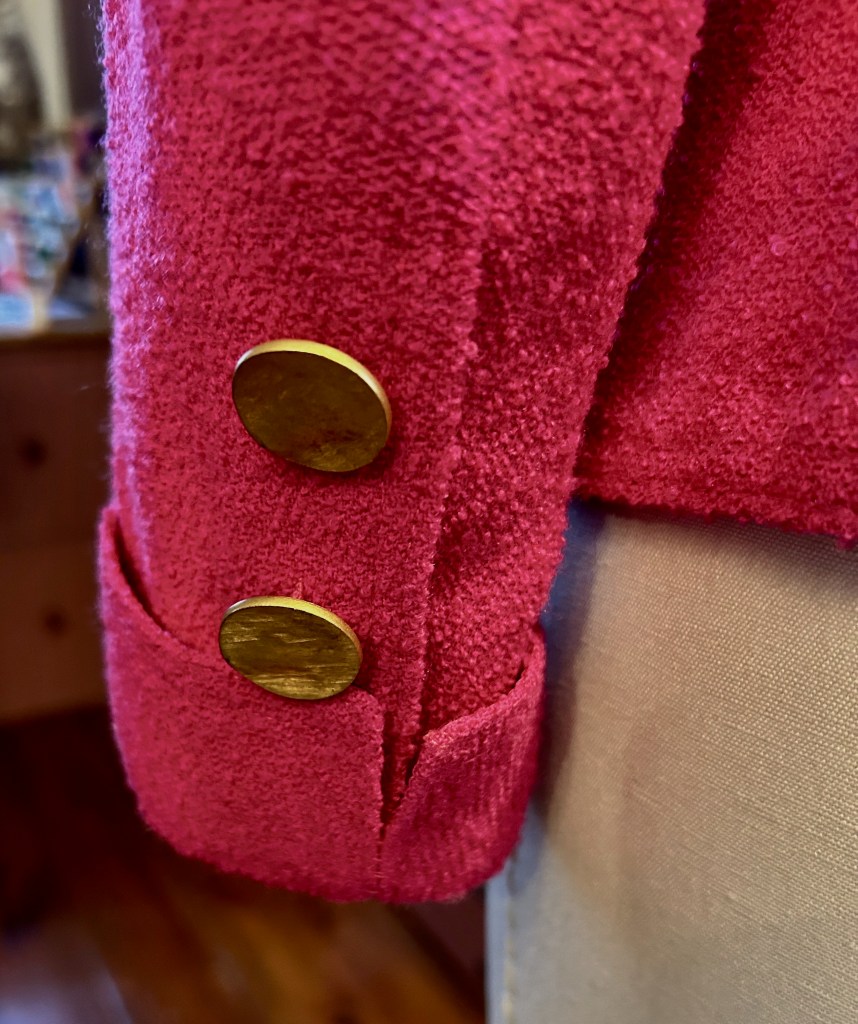
One of the beautiful details of this jacket was the applied tailored cuff on each sleeve.  Shortening the sleeve was going to have to be in two parts.  

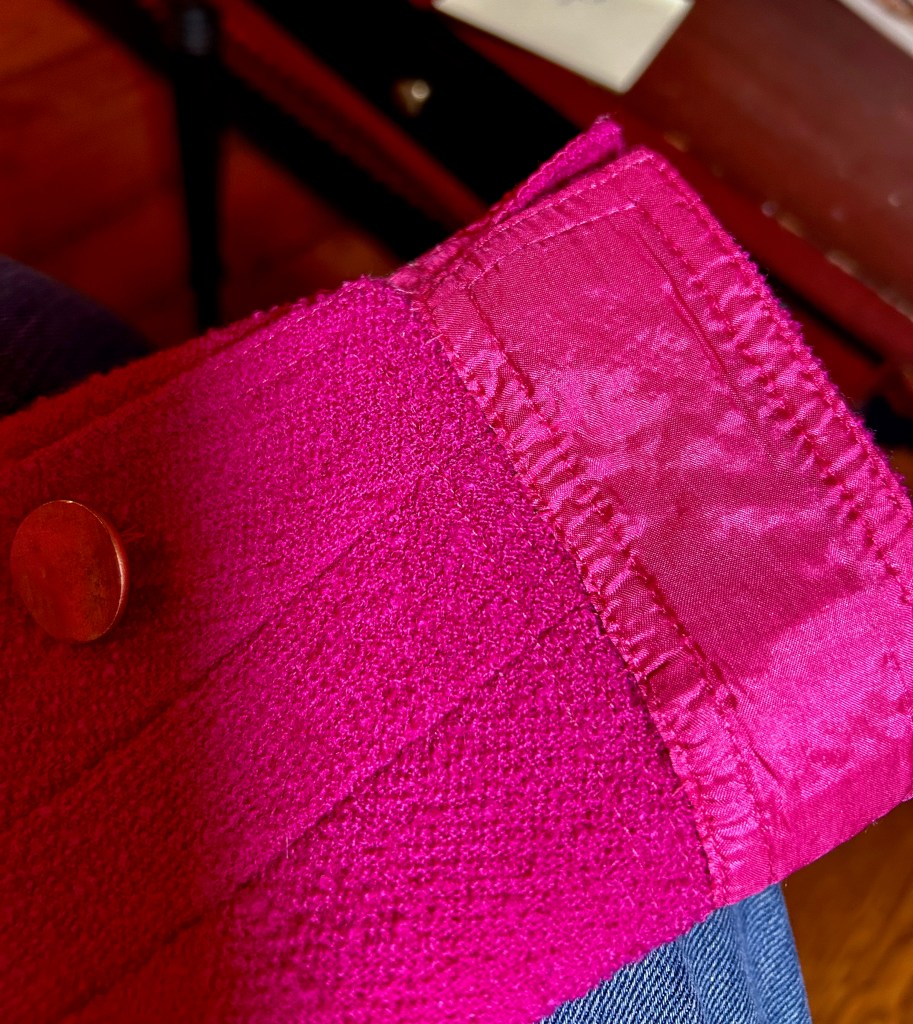
If you look closely, you can see how the cuff has been applied to the sleeve.

I buckled down and removed the cuff on the first sleeve.  I had determined I needed to reduce the sleeve length by 7/8 of an inch.  I was worried the circumference of the sleeve end might “grow” enough to make the applied cuffs too skimpy.  By now I was asking myself how I got myself into this?  I was spending all sorts of time on this jacket when I had whole garments to sew.  But it was too late to back down at this point.  I  cut off the necessary length from the sleeve and its lining, stitching them back together by hand.  I then had to redo some top-stitching and found some thread which was a close match to the existing thread.   Then I re-applied the cuffs by hand.  Fortunately, they were split cuffs, so they had some “give” and molded nicely to the slightly larger circumference of the sleeve.  

One down and one to go before I could respace the buttons above the cuffs.  

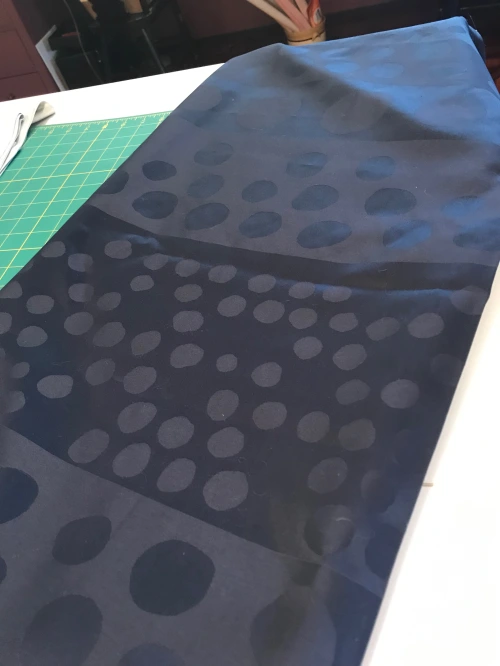
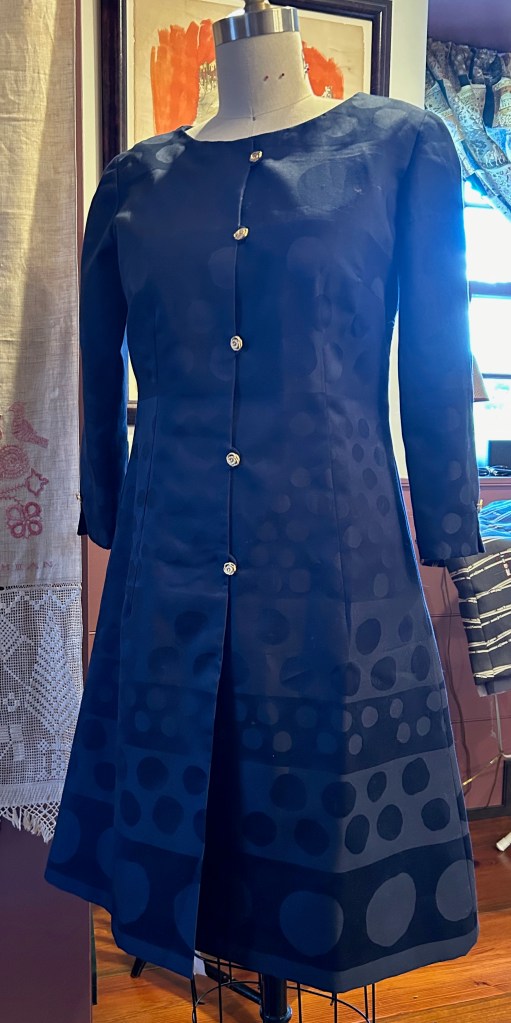
With that jacket ready to go to Paris, I finally was able to turn my attention to that dress I wanted to make.   Some of you may remember seeing this cotton sateen/jacquard fabric mentioned in a prior post.  I had debated whether to make a dress or a long skirt with it, but ultimately decided on a dress as I thought I would get more wear out of it that way.  

I thought this would be the perfect weight and fabric for early spring in Paris – not too heavy and not wintry looking.  I envisioned wearing this to the fashion show which we would be attending one evening at a private apartment.  So much for those plans!  Our schedule that day did not allow us to return to the hotel to change clothes.  We would have to wear our out-and-about day clothes into the evening.  

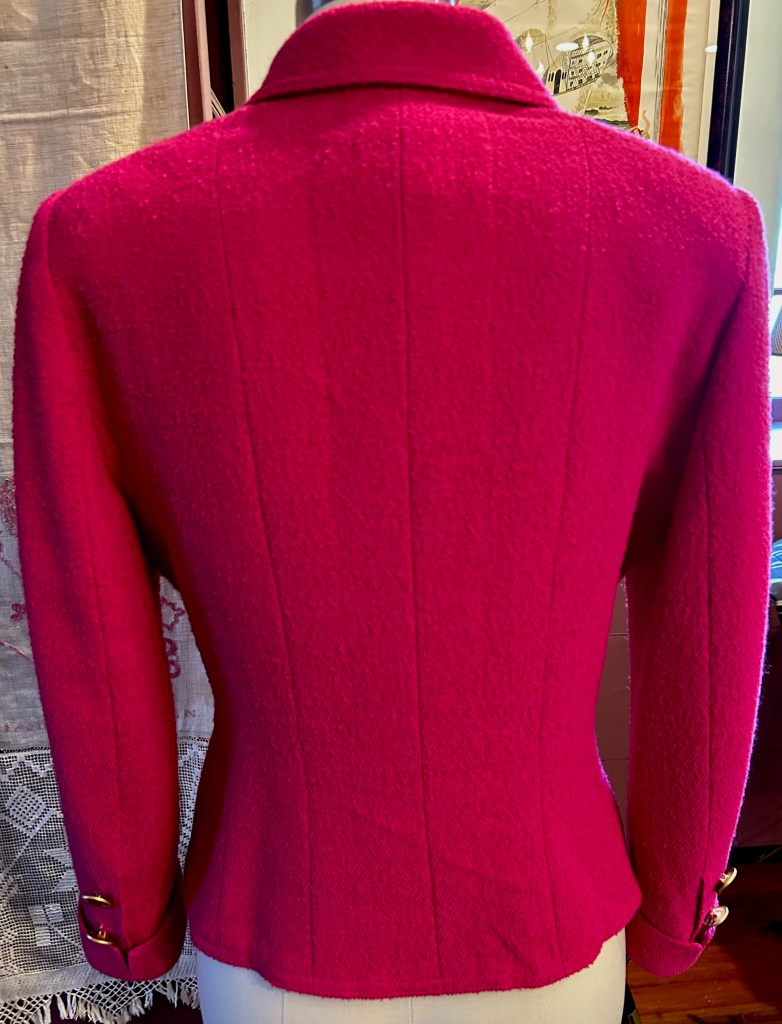
I went to Plan B and wore this jacket I had made several years ago.  I paired it with navy slacks, a pale pink blouse, and a scarf which matched the lining of the jacket. I carried along a change of shoes to look a little dressier and that was that!  

So what about that navy blue polka-dotted dress?  Yes, I did finish it.

It’s still a little wrinkled from being packed!

I carried it all the way to France for 15 days and back home again and never wore it…  More about it in a future post.  

22 Comments

Filed under Chanel-type jackets, classic French jacket, Day dresses, Polka dots, Sleeves, Uncategorized, vintage Vogue patterns from the 1960s

A Long Silence

Silence may indeed be “golden” except when one is trying to maintain some regularity in writing a blog.  My silence this past Fall and into the end of the year was not intentional. I actually got as far as starting a new post in November on a “Blouse for Fall” only to have its completion thwarted by more pressing priorities.  Such is life, as all of us know.  So now, in this sparkling new year we have entered, I have the opportunity to play some long overdue catch-up.  

It is at this time of year when I like to reflect on my sewing from the year just past.  And glaringly, the truth is I was not very productive.  Here is what I made:

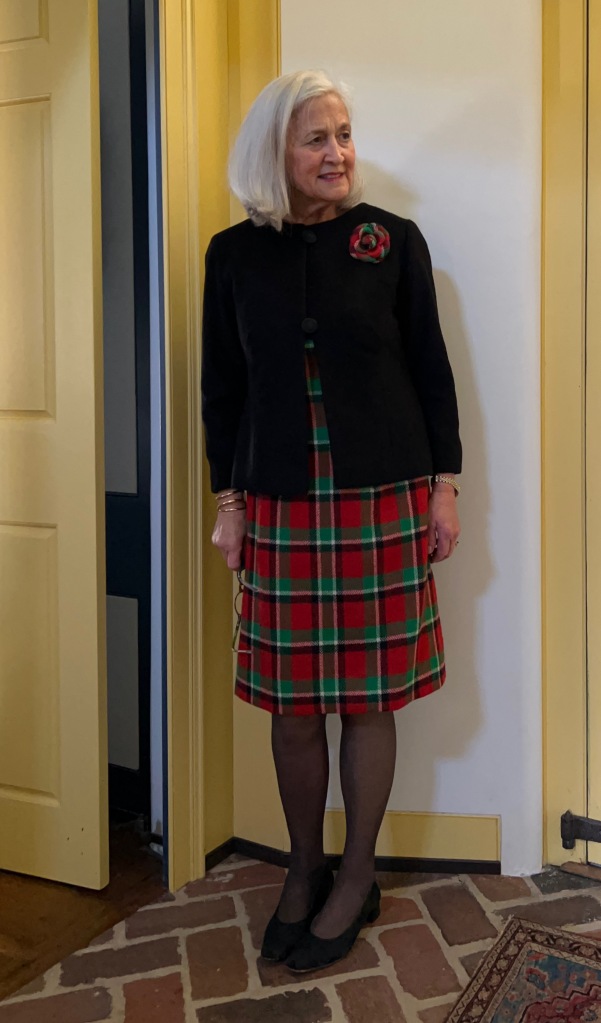
  1. Short black wool jacket, ostensibly to wear with a wool sheath dress made two years ago.    

I suspect this jacket will prove to be more versatile than I have expected.  Its jewel neckline will lend itself to scarves, and its solid black color will be a good canvas for brooches or other fabric flowers.  

 2. A birthday/sundress for each of my two granddaughters.

I generally do not post on my blog about sewing for my granddaughters, due to the limited audience for the subject.  The girls requested dresses which they could wear “off the shoulder.” So of course, I obliged!

 3. A pink striped casual blouse.

Pale pink is always a good idea.

  4. A floral summer dress. 

I was happy to use this fabric which had been long in my sewing queue.

 5. Fun floral skirts for each of my granddaughters.

I used “kits” from Farmhouse Fabrics for each of these skirts.  They garnered blue ribbons and a “Best of Division” at our local county fair this past summer.  Full disclosure:  there wasn’t much competition!

  6. My 50th Anniversary linen dress made with vintage fabric.

I’m not sure I have ever made a dress which has given me more personal satisfaction than this one.  Making this dress was truly a dream come true.

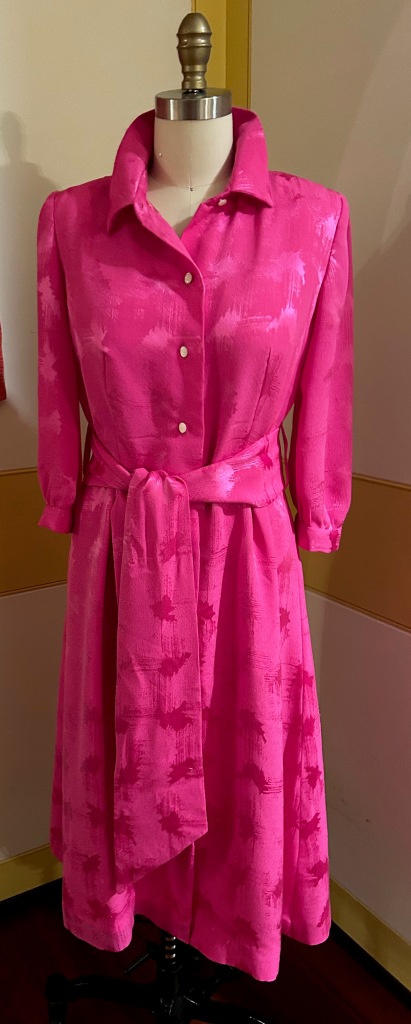
  7. A fuchsia-pink silk shirtdress.

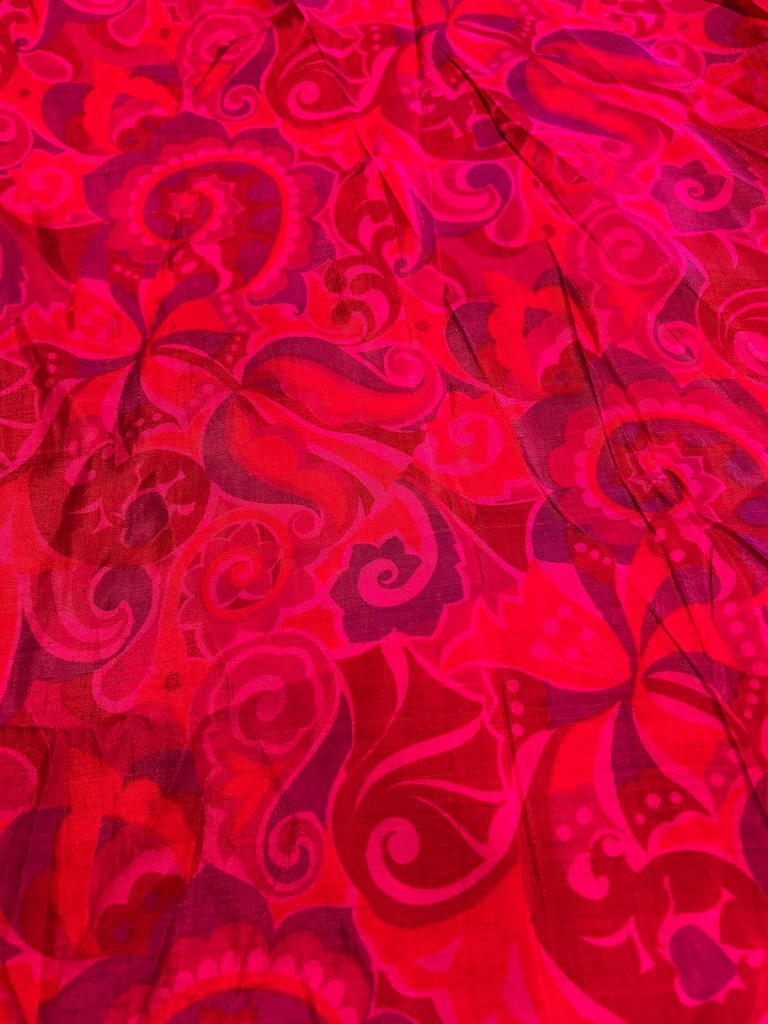
I persevered through the tricky construction of this dress made with a slinky silk jacquard charmeuse.  I had the opportunity to wear it twice this past Fall.  Perhaps the trending, pink “Barbie theme” contributed, but this dress proved to be a magnet for compliments at each wearing.  How rewarding after all the trouble it gave me! 

  8. A blouse for Fall, using some amazing vintage buttons.

I will finally admit I will never get tired of making or wearing cotton blouses. 

  9. And some miscellaneous (and minor) gift and holiday sewing.

That’s it!  

And I’m perfectly fine with it.  I did what I could, and three of my projects had high priority (my girls’ birthday dresses, my anniversary dress, and my pink shirtdress).  Completing them was very satisfying.  

So what about my last make of the year – that blouse for Fall?  

It’s very orange.  And with the pheasant motif, it is very autumnal.  However, with Fall undoubtably being my favorite season, it seemed fitting to have a piece in my blouse wardrobe devoted to that time of year.

I found the fabric on the website of Emma One Sock Fabrics a couple of years ago.   It is a beautiful cotton with a very slight stretch to it.  The quality is superb, being silky soft and very easy to sew.  The Herringbone printed background makes it look like a much heavier fabric than it really is.

I debated on the style bouse to make, thinking a bow blouse would be lovely.  However, in order to make this as versatile and wearable as possible, I defaulted to my regular shirt/blouse pattern, which I have altered and tweaked many times.

Here is that blouse pattern I have used over and over.

   I also thought this pattern would be the one most likely to show off the buttons I intended to use with the fabric.  

I can’t remember what came first – the fabric or the buttons.  Somehow I was lucky enough to find these vintage Ultra Kraft buttons with their feather motifs.  Just bordering on a bit too big for a blouse, these buttons seemed to balance the large pheasant groupings, making both fabric and buttons a good match.  I didn’t realize until I had finished the blouse how much the silver in the buttons picks up the lighter colors in the feathers of the pheasants.  There is a little “sparkle” in there!

I was able to wear this blouse a couple of times in season.  Now it seems a long time away until its next wearing…  

Which begs the question: what will transpire in the ensuing months – between now and then?  I will wait and see how and when inspiration hits.  What about you?  

42 Comments

Filed under Blouses, Buttons - choosing the right ones, Uncategorized, vintage buttons

A Fussy-to-Make, Fuchsia-Pink Silk Dress

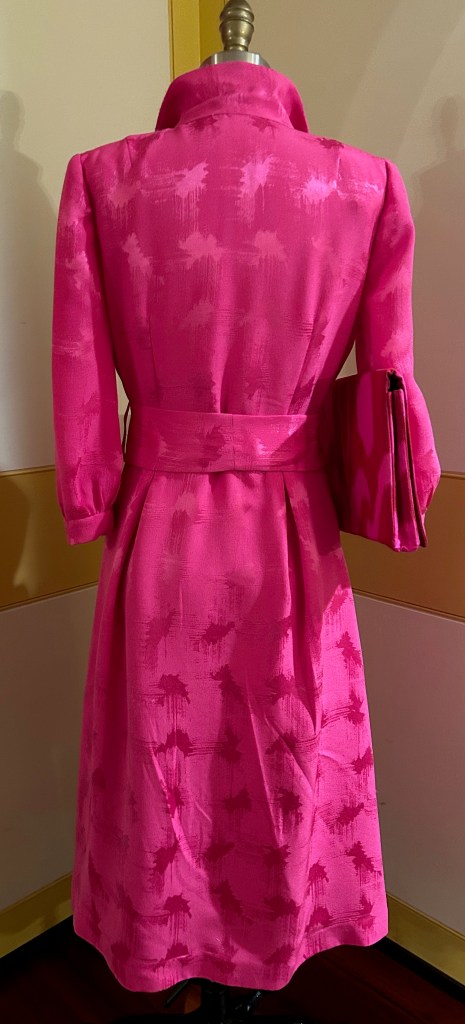
Sometimes extra incentive is needed to push through a project which turns out to be more difficult than anticipated.  Such was the case with this pink silk jacquard dress.

I had purchased this fabric quite a few years ago online from Britex Fabrics.  I knew it was a dressy fabric, and unsure of what form this dress would take, I made the decision to purchase four yards of this 58” wide silk.  That gave me some latitude in my selection of pattern.  

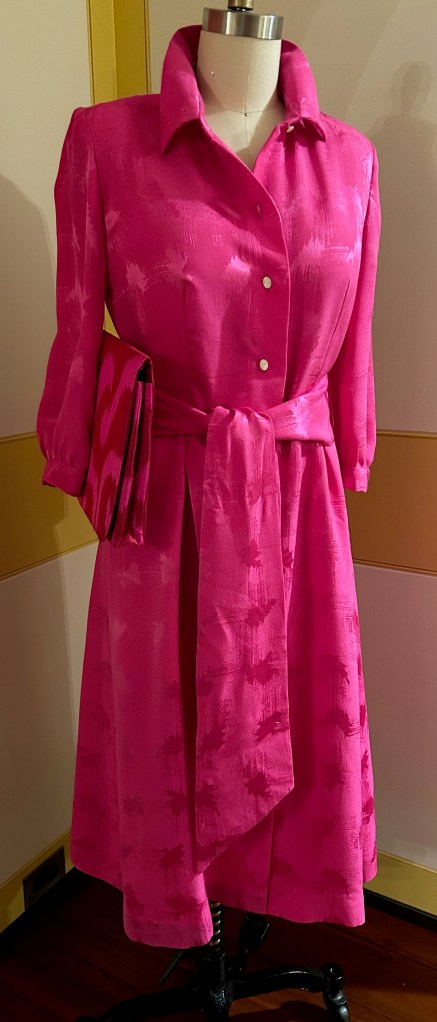
Finally last Spring I made a decision about what I wanted this dress to be.  That was precipitated by the arrival of a beautiful invitation to a very special event this Fall, and of course (!) I needed a new dress to wear to it. The fabric is a dressy, shimmery silk jacquard, so by its very nature it would make up into a dress which had a certain glamour to it.  

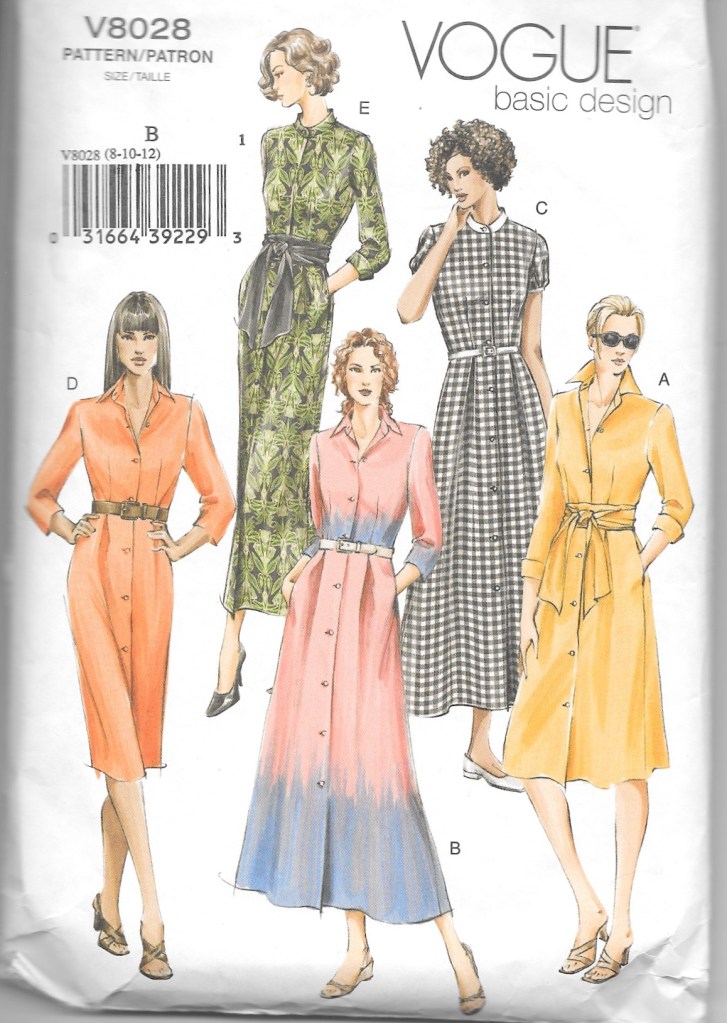
I decided to use a go-to pattern I have used a few times already and make a classic shirtdress.  That may seem like a strange choice, but I envisioned it as very dressy and flowing, and quite appropriate for the fabric.  

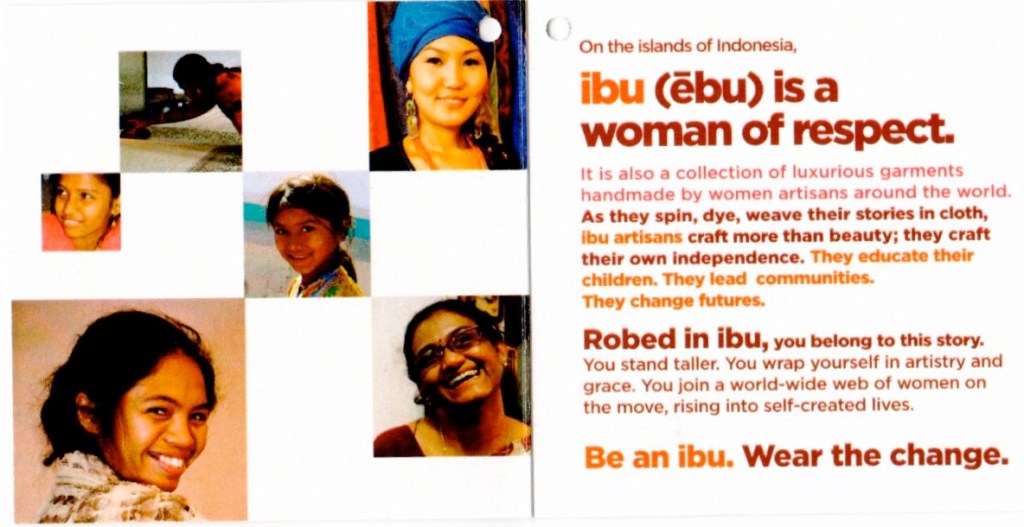
While this idea was percolating, I happened to attend a luncheon/presentation by a wonderful organization called the Ibu Movement.  (Pronounced ebu, with a long “e,” this is an Indonesian word meaning “a woman of respect.”)  

The pop-up shop accompanying this event was filled with gorgeous clothing, accessories, even shoes. When I saw this envelope clutch, I knew it would match my silk fabric perfectly and would be the perfect addition to my as-of-yet-to-be-sewn pink dress.  Little did I know at that time it would be the catalyst to make sure I finished the dress!

My first clue as to the fussiness of the fabric was as soon as I pressed it and laid it out for the placement of my muslin pattern. Here is what I noticed:

  1. The fabric had a slightly loose weave to it, making it almost stretchy, certainly very slinky.  Keeping it properly aligned on the straight of grain was going to be a challenge.  
  2. The fabric frayed easily.
  3. It also was prone to shedding silk fibers.  I decided I needed to handle it as little as possible to mitigate this situation.
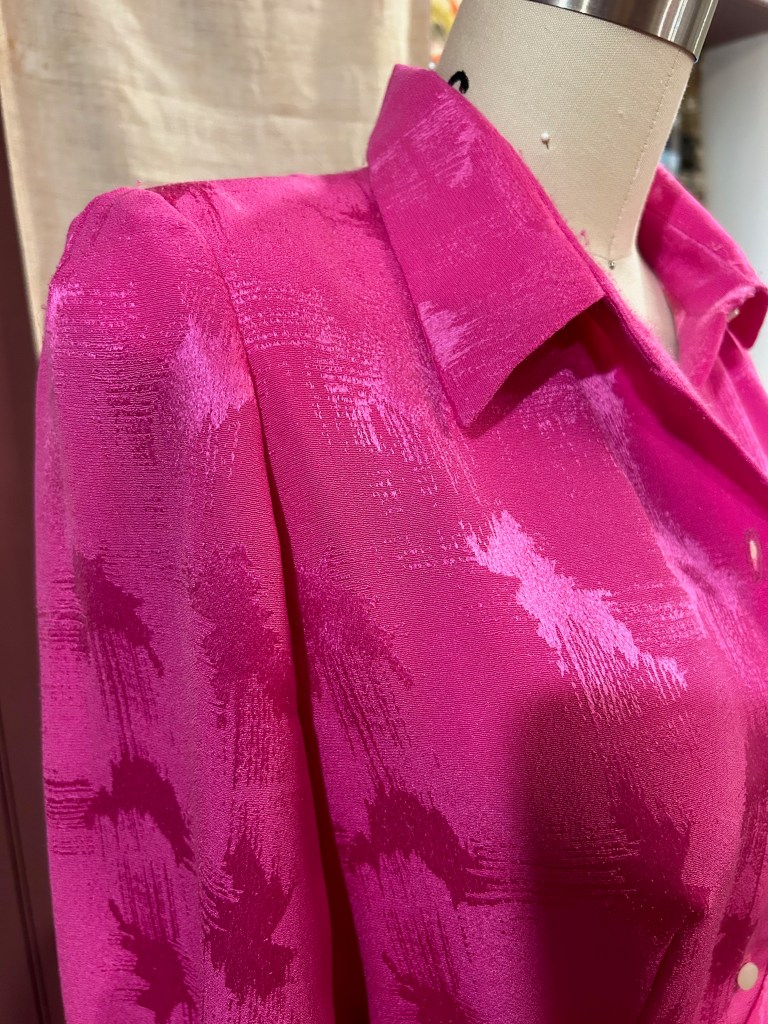
  4. The jacquard weave in it had a definite horizontal and vertical pattern to it, meaning I would have to match the design horizontally and vertically across seams.  Although I am used to matching plaids and prints, this was a little different as the woven design was of irregular form.
The irregular nature of the weave is apparent in this photo.

I decided to underline the dress (except for the sleeves) with a very lightweight silk batiste, which I hoped would give it some substance, but still preserve the flowing nature of the fabric.  I made the conscious decision not to add an additional lining to the dress.

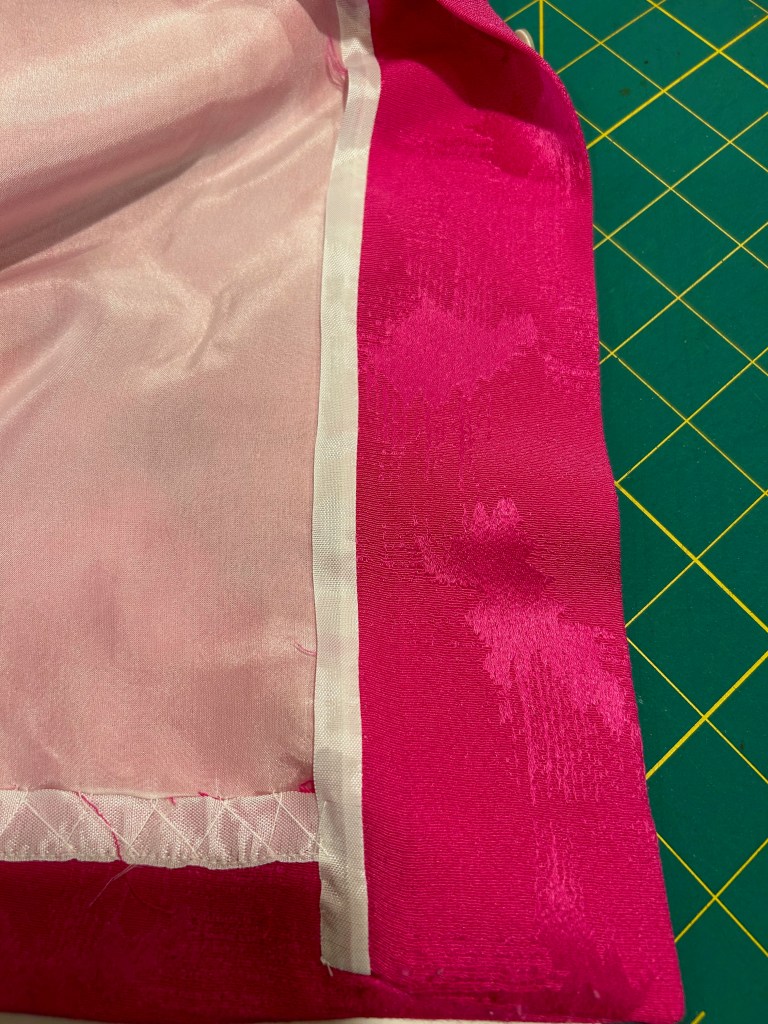
Although I rarely use fusible interfacing, I realized very early on that sewn-in interfacing was going to shift around and cause all kinds of problems.  Luckily, I had been introduced to a very finely woven, fusible German interfacing available from Farmhouse Fabrics.  I had some on hand and found it to be the perfect stabilizing foundation for the cuffs, the front facing, the collar, the collar stand, and the hem.  

So, that solved one big problem for me.  I was still concerned about being able to get the hem even.  I had good reason to be concerned!  It took two tries to avoid having either a bubble appear or uneven dips around the perimeter. 

The final quandary I had was the buttonholes.  Because the fabric shed silk fibers so easily, I was really worried that my buttonhole attachment might grab onto those fibers and make a mess.  I did some sample buttonholes, which confirmed my suspicions.  So – I used wax paper between the foot of the attachment and the fabric, cutting little windows in the wax paper where the buttonholes would be sewn.  It worked like a dream.  

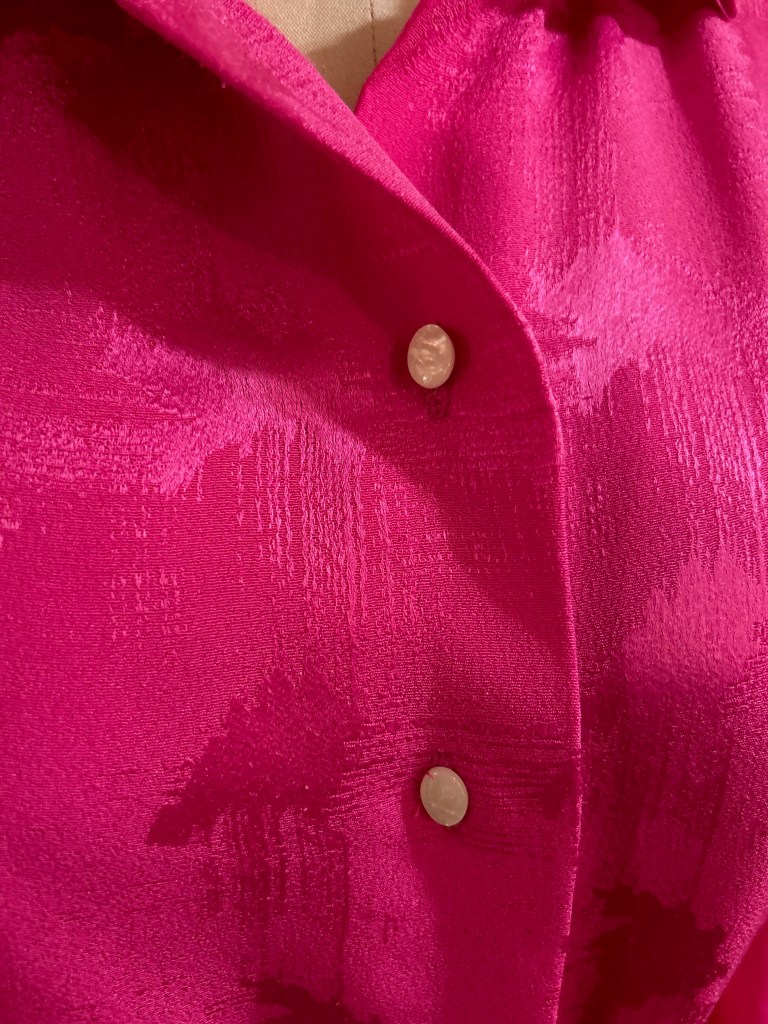
I found vintage pearl buttons with a slight iridescence to them which I thought worked well with the fabric.
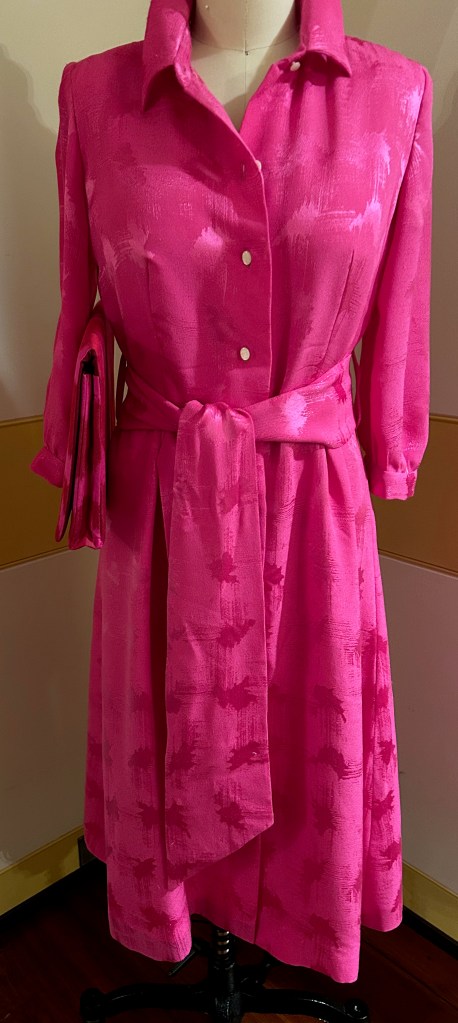
And here is that handbag with the dress!

This was not a particularly fun dress to sew, but that “perfect” handbag kept me focused.  And I am glad it did, as the dress was a success in the end.  And it always feels like an accomplishment to use fabric which has been lying in wait for so long.  

29 Comments

Filed under Buttons - choosing the right ones, Cocktail dresses, Linings, sewing in silk, silk, Uncategorized, underlinings, vintage buttons, Vogue patterns

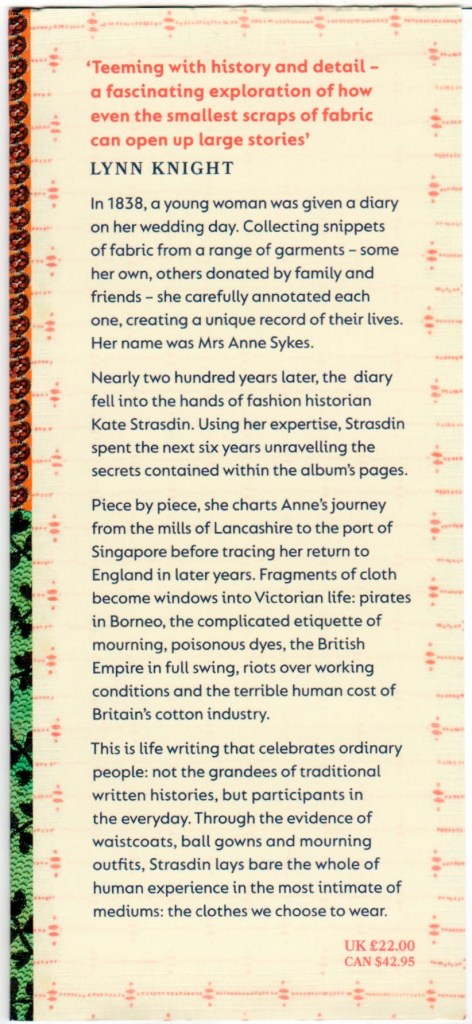
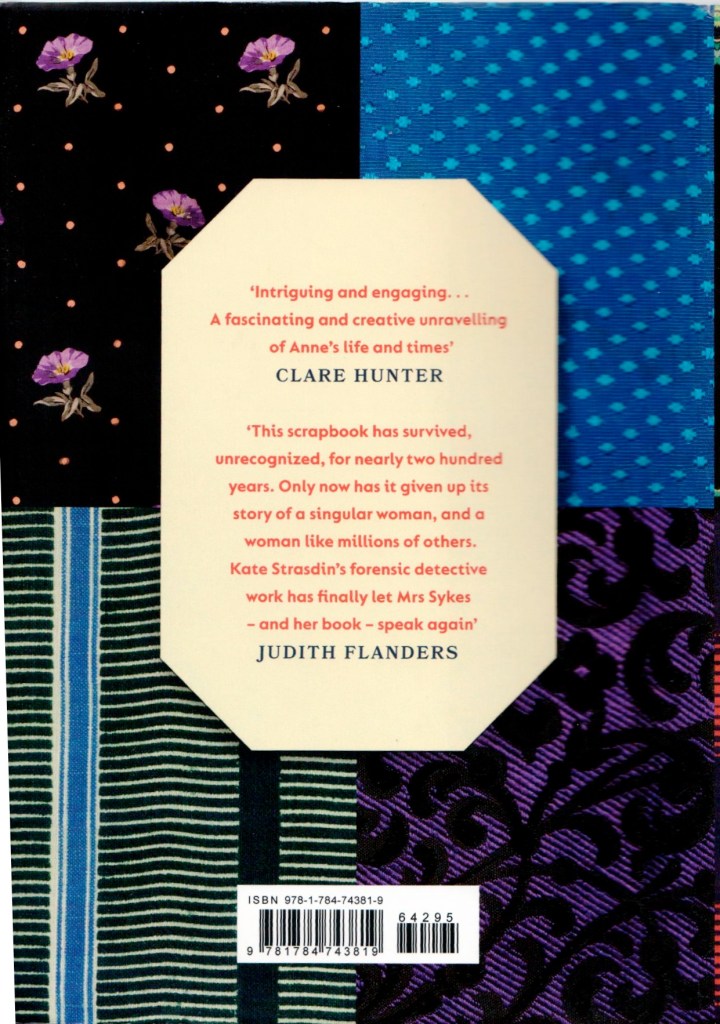
A Book Review:  The Dress Diary of Mrs. Anne Sykes – Secrets from a Victorian Woman’s Wardrobe, by Kate Strasdin.

Every once in a while, I find myself having fallen under the spell of a particularly noteworthy and engaging book.  Such was my fate with this remarkable story of an Englishwoman (1816 -1890) and her journal of fabric swatches, saved from her own life and collected from family, friends, and acquaintances over the course of decades, beginning in September of 1838.  

This book was first published in England and then a few months later in the USA. My copy is the version published in England, the book jacket of which varies from the version published in the USA.

With over 1200 fabric entries, the diary – or journal – gradually revealed its secrets to the author, a fashion historian, who painstakingly transcribed the often sparse notations  accompanying each fabric sample, piecing together the fascinating  life and times of Anne Burton Sykes.  The research is meticulous, and the author, Kate Strasdin, shares her eureka moments which allowed her to expand not only Anne’s life, but those of her friends and family as well.  Written in an engaging style, this non-fiction book often reads like a novel, a wonderful story of love, friendship, adventure, and vibrant personalities.  

There is so much to learn here about Anne’s life in the larger context of world history and events, but it is the personal experiences and expressions which spoke so loudly to me.  Yes, there are many details which, by the nature of the journal, must be extrapolated and surmised, which the author is careful to note.  But the picture of Anne – and her husband Adam – which evolves is one of two very likeable people, engaged in their community, industrious and thoughtful, friendly and adventurous, and undoubtably well-dressed.  

The first entries in the journal, of Anne’s wedding attire, were actually placed and annotated by Adam.  He was the one to give Anne the journal on their wedding day.  He refers to her as “my charming Anne.” Not beautiful, not sweet, not dear, but “charming.”  That single selection of adjective spoke volumes to me about each of them.

She also must have been brave, enduring a four-month sea voyage from northern England to Singapore, where Adam’s business took them two years after their marriage.  There they built a life among other English-speaking neighbors and acquaintances, in the stifling heat and humidity of the south China sea.   After seven years in Singapore, they went on to Shanghai for two years (where the diary goes silent for the duration), and then back to England.

 Anne’s friendships with other women throughout her life are apparent in the swatches she receives from so many in her circle.  The exchange of gifts and tokens of friendship take form in dress-goods (cotton, wool, silk), ribbons, pieces of lace, and snippets of sashes. There appeared to be a remarkable camaraderie among all ages and between the sexes.  

The author has done a masterful job in deciphering the life and persona of Mrs. Anne Sykes through so many diverse fabric swatches.  Anne’s kindness, her circumspection, her devotion to family and friends, and her small place in history make for a wonderful, enlightening story.   I am very grateful to have had the opportunity to read and savor this book. 

11 Comments

Filed under Book reviews, Fashion commentary, Fashion history, Uncategorized, Vintage fabric

A Tale of Two Dresses, Part 2

Whenever I am working with vintage fabric, it seems I either have more yardage than I need or, more frequently, less than I need.  I have learned over the years there is usually a way to work around having less fabric than I really need.  I just have to get creative.  And that’s what I did when I made this dress.

I quickly determined there was no way I could get the dress I wanted by placing the pattern on the lengthwise straight-of-grain.  The flare of the skirt, which I wanted to be mid-calf, precluded any notion of such a layout.  At 45” wide, I knew I could just get the dress length I wanted if I laid out the pattern on the cross-grain, from selvedge to selvedge.  Linen is a very stable fabric, so I was confident the cross-grain would work.  In addition, there were no directional limitations in the floral design of the fabric.  Barely fitting my pattern – from shoulder to hem – on the fabric from selvedge to selvedge, however, would leave no extra fabric to turn up for the hem – or even to face the hem.  I decided to worry about that later.  First I wanted to determine how I could get the four pieces for the dress and the two lengthened sleeves placed on the fabric, keeping in mind three important things:  1) although this was not a fabric to be matched per se, the all-over design of the fabric needed to be on the same plane in contiguous seams; 2) I wanted to space out the larger floral motifs so the dress would be balanced as best as possible (looking critically at the dress I made when I was 23, I clearly could have given this more thought!); and 3) I wanted to avoid large demonstrative blooms at the bust.  Then, and only then, would I worry about the hem.  

I transposed all the markings from my adjusted pattern onto the cotton batiste, then used those pieces as my pattern. I then basted the two layers together to be treated as one, before sewing any seams or darts.

Once I was happy with this placement, I had a eureka moment when I knew I could accomplish two things with a simple bias trim made from the yardage of deep pink linen which coordinated nicely with the floral.  1) I could preserve the full 45” of cross-grain length by applying bias trim to the hem edge instead of turning it under, and I could do the same with the sleeves.  And 2) the trim would add interest to the dress, just as I had vaguely imagined.  (A quick aside here – I have ample yardage of the solid deep pink linen to make a coordinating coat at some point. Every dress needs a coat, right?) 

I underlined this dress in a very lightweight, pre-washed, cotton batiste, then I lined it in Bemberg rayon.  Moygashel linen washes beautifully, as does Bemberg lining, which is why I chose Bemberg over silk for this dress. I eliminated the neckline facing, choosing instead to bring the lining up to the edge of the neckline seam, then under-stitching it to secure that edge in place.  

I chose to do a hand-picked, lapped zipper, an application which I think looks so lovely.  Interestingly, I hand-picked the zipper in the dress I made in 1973, although it is a centered application.  
And here is a back view of the 1973 dress. The zipper is metal, which certainly is a telltale sign of a vintage dress.

When it came time to apply the bias-cut trim to the hem and sleeves, I had to experiment around a bit.  I didn’t want it too wide, but it needed to be substantial enough to look like it was meant to be and not an afterthought or decision made in desperation!  I finally settled on an exposure of 1/2”.  

Now this is where it gets interesting.  A few weeks ago I saw a vintage dress on a Facebook/Meta post by Xtabay Vintage Clothing Boutique.  It is obviously Moygashel linen (I can tell by its weave and color), but what really caught my eye were the bias strips and low-profile bows adorning its sleeves.  I tucked this idea in the back of my mind for future consideration.  What I didn’t know was that the future was right around the corner!  Yes – I “borrowed” this idea and added a single bias-cut bow to each sleeve.  Somehow, it just seems to finish the dress.  

I never would have thought of adding a bow to each sleeve had I not seen this pretty vintage dress.

In this view, the princess seam which originates in a dart is visible. This is a nicely engineered, flattering pattern.

Well, you may have guessed by now the reason for making this dress this year.  I will wear it next week when my husband and I celebrate our 50th Wedding Anniversary.  I have changed a lot in those 50 years (and so has my husband!), but I still love pink in all its shades and I still love Moygashel linen (and I still love my husband, too!)  
49 Comments

Filed under Bows as design feature, couture construction, Dressmaker details, Fashion history, hand-sewn zippers, Hems, Linen, Linings, Mid-Century style, Moygashel linen, Sleeves, Summer sewing, Uncategorized, underlinings, Vintage fabric, vintage Vogue patterns from the 1970s

A Tale of Two Dresses, Part 1

Where to begin with this story?  I have to go back 50 years – which sounds daunting and slightly surreal.  As a 23-year-old about to be married, I had already made my wedding gown that summer of 1973.  I still, however, needed a couple of dresses to take on our upcoming wedding trip in early September.  With that intention, I ventured into Stapler’s Fabric Store on Walnut Street in Philadelphia, Pennsylvania (USA).  Stapler’s was one of the old, notable, family-owned purveyors of fine fabrics and dress goods, and I loved going in the store.  Most of the time I could only look and dream, so going in on a mission made this trip memorable.  

Stapler’s carried high end fabrics and that included the newest offerings of Moygashel Irish linen.  I have written several times about this storied brand of dressmaker linen, known for being wrinkle and crease resistant, known for its exquisite designs and colors, and highly sought after by women of good taste.  I can still feel the excitement I had that Summer day when I saw a quintessential floral Moygashel in vibrant pinks and greens and whites.  

I had already picked out a Very Easy, Very Vogue pattern (the pattern number is lost to the ages by now, as is the pattern itself) to make a long A-line dress with short cut-on sleeves and center front and center back seams.  I purchased the yardage I needed and made this dress:

Ankle-length dresses like this were very fashionable in 1973.

I loved it.  I felt beautiful in it, which has, over the years, become my litmus test for a successfully made garment.  Several years ago I included this dress in a post I titled “Shopping in My Cedar Closet.”  I posed a question to myself – should I take this dress apart and reuse the beautiful fabric – which I still loved – for something else?  By asking myself this question, I knew I had the answer.  Too many memories, too much of the younger me were in this dress for me to cut it apart.  I placed it back in the closet and vowed to keep it as is. 

A few years later a most amazing thing happened.  While searching for vintage Moygashel linen on eBay, I found an offering for a length of the same pink, green and white floral fabric I had purchased so many years ago.  The listing was for 2¼ yards of this 45”wide fabric.  I purchased it immediately, its new rendition to be determined. In my mental sewing calendar, however, I hoped to bring life to this fabric 50 years after I made my first dress from its twin.

The planning began in earnest earlier this year.  I had to decide exactly what silhouette dress I wanted my new dress to have.  With only a little over two yards, I knew my choices were somewhat limited.  And I also knew the fabric itself needed to be the star – with its demonstrative, large design, its medley of colors and its lustrous weave.  It took me a while to realize I had already determined the correct formula 50 years ago.  It needed to be another A-line dress, with some length to it.  This time, however, I would make it using the couture techniques I have learned since then.  

I also knew I wanted: a) longer sleeves, if possible, with the yardage I had; b) to underline and line this dress (but preserve its washability); and c) to add some minor embellishment in some way, perhaps buttons or trim of some sort.

I had these deep pink buttons, one design of which I thought might be a possibility … In the end, I decided they would not work.
And, I had two lengths of Moygashel linen from the 1970s in this deep pink, from which I could make trim, if needed. This proved to be essential to the success of my endeavor.

A suitable pattern happened to be one I had already used twice.  

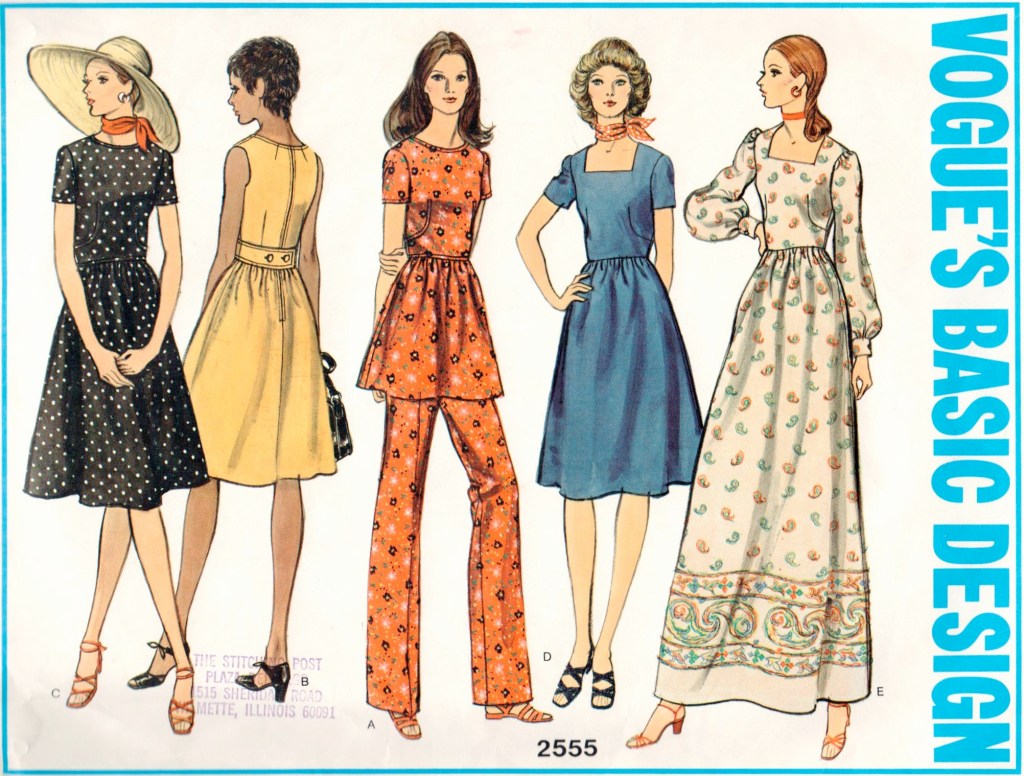
The line drawing for the shorter length shows more detail as to the seaming and the darts. The description on the pattern envelope reads: “evening or street length, high shaped, slightly A-line dress has short sleeves and scoop neckline with or without slit at center front…”

I first used this pattern for this dress:

And then a year or two later, I used it for this dress:

Having a pattern which fits, with pleasing lines and a certain finesse to it, is worth its weight in gold.  Even better, the late 1960s’/early 1970s’ vintage aspect of this pattern made it a perfect fit with fabric from 1973.  The only question I had was a big one.  Did I have enough fabric to make a longer dress with longer sleeves?  The answer: No – and then Yes.

(The story continues in the next post…)

25 Comments

Filed under Fashion history, Linen, Mid-Century style, Moygashel linen, Uncategorized, vintage buttons, Vintage fabric, vintage Vogue patterns from the 1970s

An Italian Cotton for an American Summer

For a number of years this light, filmy, patterned and printed cotton, made in Italy,  had been lurking in my “cottons basket.”  I had purchased two yards of it from Mendel Goldberg Fabrics, for a “future” dress presumably.

This fabric is partially sheer. The print is overlaid on what appears to be a “burn-out” cotton, ie., two-layered.

At 60” wide, I knew two yards would be sufficient for just about any summer style I chose to make.  It seemed like every Spring I would take it out and consider the possibilities for it, not reaching a decision.  But this Spring, the “future” had finally arrived, at least for this fabric.
I’m not sure how I came up with the idea to trim it with a coordinating tape/ribbon, but I liked the definition it gave to the colors in the printed floral sprays.  First, I thought purple would be a great color to pair with it, then I went to yellow, then to pink.  None of those seemed to make the fabric pop the way I anticipated they would.  So, even though red is not a dominant color in the print, I decided to try it. And that was it – it worked!

I had already decided on a Vogue pattern I had previously used twice, albeit with a number of obvious changes.  

The first construction decision facing me was whether to underline it with cotton batiste and then also line it with – I wasn’t sure what; or just line it and hope that would be sufficient.  I wanted to preserve the light, airy feel of the fabric, but I also needed to address the sheerness of part of the fabric.  

After much thought and experimentation, I went with using only a simple cotton batiste lining. That turned out to be the right decision.  I under-stitched around the inside of the neckline and armscyes even though I did not have an underlining upon which to secure those stitches.  However, the under-stitching – which caught only the seam allowance – still had enough of a stabilizing effect to secure those edges. 

A hand-picked zipper is always a lovely detail to add to a dress like this:

There was some subtle pattern placement on this dress, but no matching.

I’m getting ahead of myself here, but to make this dress, I was eking out small snippets of sewing time during a complicated Spring.  And when the time came to do our annual Summer migration from Pennsylvania to Wyoming, 2200 driving miles west, the dress was unfinished.  

So, I packed it up along with a lot of other sewing-related things, and I eventually picked up where I left off.   I remembered to bring the zipper for the dress, – and the red Petersham ribbon for its embellishment – but I forgot to bring the extra dress fabric.  Why was this a big deal, you might be asking?  Well – I needed to make a belt for the dress, and my intention was to make a self-belt, edged with the red ribbon.  
Once again in my sewing life, I found myself going to Plan B – necessary, if I had any thought of wearing this dress this summer.  (Plan B stands for “It BETTER work.”)  I hemmed and hawed and decided there were two options.  One was a white belt and the other was a red belt.  I came to the conclusion a red belt would be too overpowering for the delicate nature of the fabric.  So that left me with a white belt, which wasn’t too exciting.  Then I had a eureka moment when I realized I could pick up the somewhat zigzag overlay motif in the fabric and embellish the belt with my extra red Petersham ribbon, applied in a zigzag pattern.  
This actually shows the back of the bodice. I used flat hooks to secure the belt.

Plan “B” seemed like a good idea when I remembered I had this Kate Spade Summer clutch to pair with my dress.

So – I rather like the Plan B belt although I may decide at some point to make a self-belt as I had originally intended.  We shall see.  One thing I know I will do is make belt loops for this dress from its remaining fabric sleeping back in Pennsylvania.

In the meantime, this is a good dress for a hot American summer.

Ciao!

33 Comments

Filed under couture construction, hand-sewn zippers, Linings, Summer sewing, Uncategorized, vintage Vogue Designer patterns, vintage Vogue patterns from the 1970s

The Many Uses of a Pink and White Striped Cotton

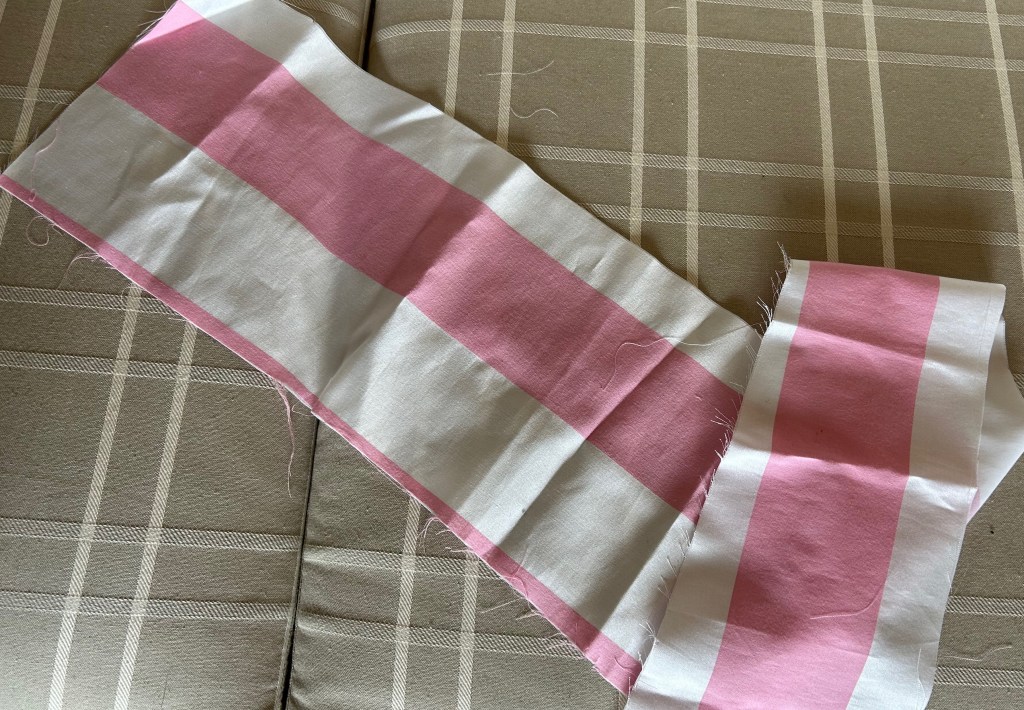
There are now a few scrapes remaining of this fabric:

Before the scraps there was this blouse:

Before the blouse there were two Springtime dresses for my granddaughters: 

And before the two dresses, there were two Valentine’s Day aprons for my granddaughters:

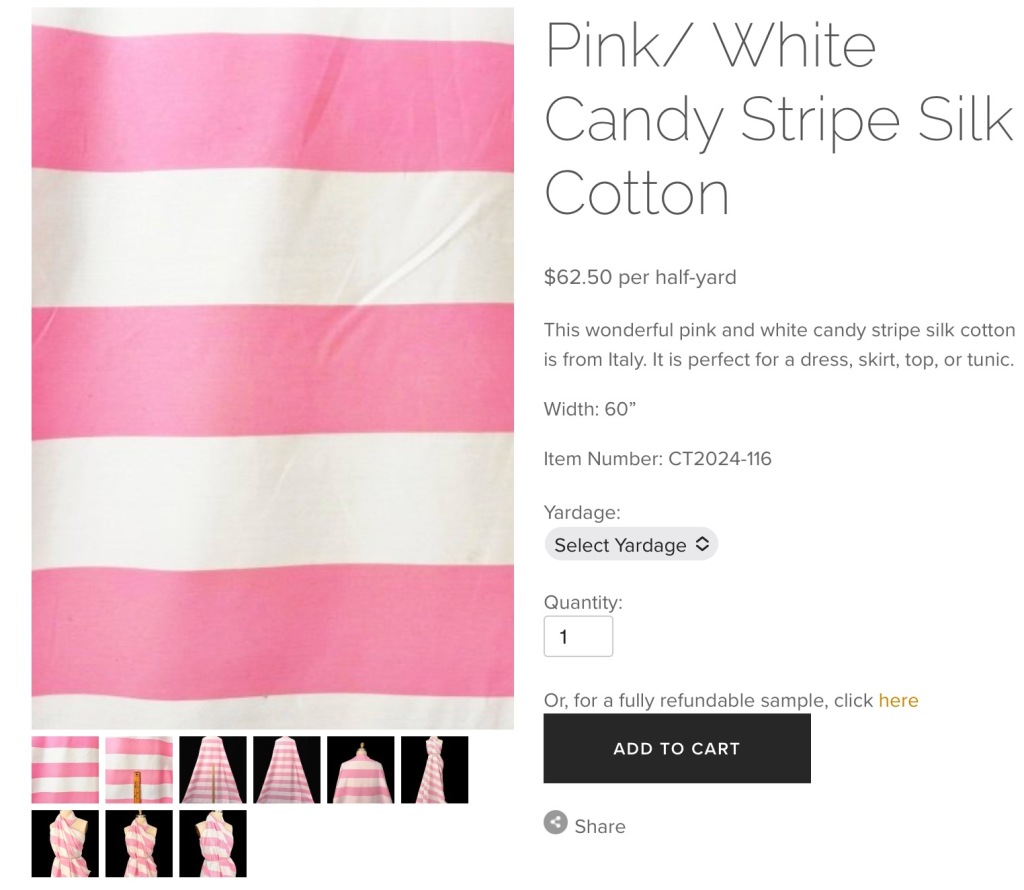
Sometimes a fabric is just so versatile, it pays to use it over and over.  Such has been the case with this pink and white striped cotton I originally purchased from Farmhouse Fabrics back in late January.  It all started with my decision to make aprons for my granddaughters for Valentine’s Day.  I found a cute pink and red heart print for the base of the aprons.  (I sized down this apron pattern for my then-7-and-9-year-old girls.) Then I needed a coordinating fabric for the ties and pockets on the aprons.  That’s when this striped cotton came into my life.

Because the apron ties were cut on the bias, it was necessary to buy over a yard of the 60” wide fabric, leaving me a sizable section of fabric after the completion of that project.  I put the leftover fabric in my storage closet and didn’t think any more about it. Until….

A few weeks later I geared up to make matching dresses for the girls’ Springtime birthdays.  I got some direction from my daughter on the style of dress the girls decided they wanted – off-the-shoulder ruffle dresses.  I luckily found a new Liberty of London cotton print, purchasing it quickly before it sold out. 

Once I had it in hand, I decided it would look a lot cuter with a contrasting collar and sash rather than the entire dresses out of the same fabric.  That’s when I thought of the pink and white stripe I had stored away. 

Well, the rest is history, except that to complete the dresses, I needed to purchase more of the striped fabric.  Fortunately, it was still available from Farmhouse Fabrics.  This time, however, I decided to purchase enough additional of it to make myself a blouse.  Why not? 

Now, I have made a lot of blouses, many using this pattern:  

Here is the blouse pattern I have used over and over.

They are not the most exciting apparel in the world, but I do wear them, a lot.  So lately, I have been trying to mix up the details of the pattern when I make a new blouse to make it more interesting.  Here is what I did to this one:

  1. The most obvious change I opted for are three-quarter length sleeves, slightly poofy, gathered into a continuous cuff.  

2. I decided to cut the cuffs on the bias and repeated that choice for the back yoke and the collar band. 

I also gathered the back vent instead of making a pleat. It looks off center here, but that is an optical illusion!

3. I used the collar variation I had originally cut for this blouse, and in addition I took one inch off the length of the blouse.  

Again I went to my button collection and found vintage buttons which pick up the striped motif of the fabric.  

I think I am now finished with pink and white stripes, but I am holding on to the scrapes just in case….

23 Comments

Filed under aprons, Blouses, Buttons - choosing the right ones, Liberty cotton, Uncategorized

Upcoming!  A Major Fashion Exhibit at Winterthur Museum

Mark you calendars for a visit to Winterthur Museum in Winterthur Delaware, (USA) in the Fall of 2023.  Ann Lowe, American Couturier opens on September 9th and runs through January 7th, 2024. 

For those of you unfamiliar with Ann Lowe, she probably is best known as the designer of Jackie Kennedy’s wedding gown when she married John F. Kennedy in 1953 –  but Lowe is so much more than that.  For decades she was the designer of choice for “America’s most prominent debutantes, heiresses, actresses, and society brides.”  Despite designing couture-quality dresses and gowns for such an extensive and elite clientele, she remained virtually unknown in the public arena.  Even a feature in the Saturday Evening Post in 1964 calling Ann Lowe “Society’s Best-Kept Secret” failed to secure the recognition she deserved.  Recently, however, her place in the pantheon of American Fashion Designers has begun to be recognized, and this major exhibit of her work will undoubtably elevate Lowe to the pinnacle she so richly deserves.  

I share this short biographical blurb on promotional material from Winterthur Museum:  

Winterthur’s Exhibition will showcase approximately 40 of Lowe’s dresses and gowns, gathered together from museums and private collections across the country.  In addition there will be approximately 10 works by contemporary Black designers, influenced by the timeless style and legacy of Lowe’s volume of work.  

Here I share 4 images of dresses included in the Exhibition:

Printed Silk Ensemble, c. 1930s, Anonymous Gift to the Cincinnati Art Museum
Evening Dress, c. 1955, Silk Velvet, Lent by The Museum at the Fashion Institute of Technology, Gift of Eleanor Cates
Evening Dress, c. 1962-64, Made for Saks Fifth Avenue by Ann Lowe, Lent by The Metropolitan Museum of Art, Gift of Mrs. Carll Tucker Jr.
Elizabeth Mance Concert Gown, c. 1966-67, From the collection of Elizabeth Mance deJonge.

Last Fall I had the privilege of visiting Winterthur’s Conservation Lab where several of Lowe’s dresses and gowns were being prepared for exhibit. Readily apparent in these pieces was the engineering skill of the designer – all those things going on inside the dress to perfect the fit and carriage of it for each client.  Although much of this inside story will obviously not be on display, each and every dress will surely tell its own story of beauty, quality and style.  

This Exhibition is guest-curated by Elizabeth Way, associate curator of costume at The Museum at FIT.  For more information, visit www.Winterthur.org.  

10 Comments

Filed under couture construction, Fashion Exhibits, Fashion history, Uncategorized

Completion – How Sweet It Is. 

It has been a slow start to the new sewing year of 2023.  Although I had anticipated the completion of my first project – this black jacket – to be a speedy endeavor, I anticipated incorrectly!  (Has anyone ever said fashion sewing can be very humbling?)

I was making this jacket to go specifically with a wool sheath dress I made two years ago – and also, hopefully, to pair with other dresses or skirts which might benefit from the addition of a somewhat dressy black jacket.  I had the pattern, and I had the fabric, a very soft light-weight cashmere (which I found a number of months ago at Farmhouse Fabrics.) 

I chose this jacket pattern primarily for its “split” center opening which would work well with the unusual center stripe woven into the wool to balance its uneven plaid.

I first needed to make a fitting muslin (toile) and I needed to determine what changes I would make to the original pattern.  That ended up being three items:

  • I changed the neckline to match the neckline of the sheath dress.
  • I added a dart to the top of each sleeve, using that method as a substitute for the running stitches normally used to facilitate the insertion of the sleeve into the armscye. I have used this alteration frequently as it seems to fit my shoulder anatomy well.
  • I shortened the sleeves from full-length to 7/8 length.  I did this as I enjoy wearing bracelets, thus giving them a little “breathing room.”  

Before I started making this jacket, I had the perception I would need to tie the sheath dress and the black jacket together in some way.  Without a shared element, I wasn’t so sure they would necessarily look like they were made for each other.  The only problem was, I had very little yardage remaining from the sheath dress, as I had made it from a limited piece of vintage wool.  What to do?  

Covered buttons would limit my ability to wear the jacket with other pieces, and besides, I thought they would look stark as the only two small embellishments on a very black jacket.  I did not have enough fabric left, even for a small neck scarf, so that idea never had a chance.  I’m not sure when it came to me, but in a eureka moment, I thought a fabric flower made from the vintage plaid would be just the thing to make this outfit work.  

I knew M & S Schmalberg Custom Fabric Flowers in New York City would be my best bet (or only bet) for having a matching flower made.  I wasn’t sure I had enough fabric even for that, but I contacted them, sent pictures and measurements of my scrap of wool, and they made it work!  

I chose a 3” camellia option for my flower.  Look what they did!

A few other details for the construction of the jacket: (1) I under-stitched the facing to control the front edges and neckline of the jacket.

(2) I used a black crepe de chine lining (and lots of extra light when I was sewing it in!) I should mention that I underlined the jacket with silk organza.

(3) The only bit of whimsy I added to the interior was to cover up the ends of the loops for the two buttons with two small jacquard ribbon pieces appliqued on.  No one will ever see these except for me, but I like them.

This is definitely a “dressmaker detail!”

(4) I covered the required snaps with the lining fabric.

I am so happy to have this jacket completed.  Most of my projects seem to take longer than they should, but that makes completing one just that much sweeter.  

.  

59 Comments

Filed under couture construction, Dressmaker details, Jackets, dressy, Loops for buttons, Mid-Century style, Uncategorized, vintage Vogue patterns from the 1960s, Vogue patterns, woolens